Laravel 验证
验证是检查传入数据的过程。默认情况下,Laravel提供基本控制器类,该类使用ValidatesRequests trait来验证所有传入的HTTP请求。
通过示例来了解验证。
我们将创建一个应用程序,我们可以在其中添加学生的姓名。
- 首先,在命令行工具中输入以下命令来创建新的Laravel项目并进行验证:
composer create-project laravel/laravel=5.8 student_app -prefer-dist;
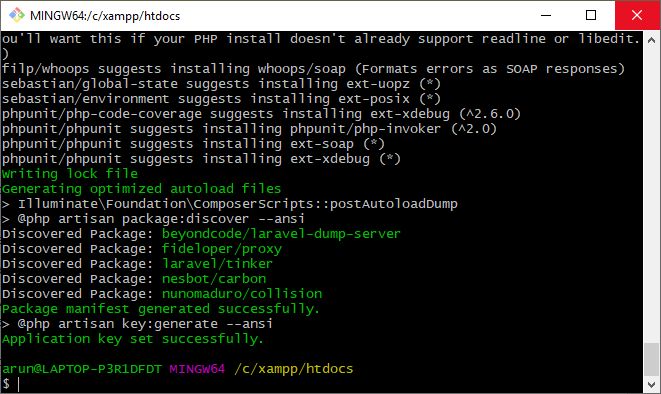
上述输出显示, student_app 项目已成功创建在 xampp/htdocs 目录中。
- 项目创建后,我们将首先使用数据库迁移创建模型。

- 上述语句创建了一个名为’Student’的模型,存储在app文件夹中,并在迁移文件夹中创建了’create_students_table’。’create_students_table.php’文件的结构如下:
<?php
use Illuminate\Support\Facades\Schema;
use Illuminate\Database\Schema\Blueprint;
use Illuminate\Database\Migrations\Migration;
class CreateStudentsTable extends Migration
{
    /**
     * Run the migrations.
     *
     * @return void
     */
    public function up()
    {
        Schema::create('students', function (Blueprint table) {table->bigIncrements('id');
            table->string('name');table->timestamps();
        });
    }

    /**
     * Reverse the migrations.
     *
     * @return void
     */
    public function down()
    {
        Schema::dropIfExists('students');
    }
}
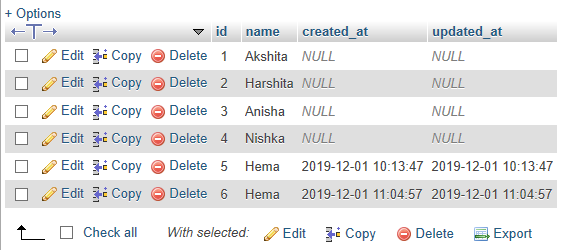
上面的代码创建了一个名为 ‘students’ 的表格,它有四个列(id,name,created_at,updated_at)。
用户表中可用的数据:
用户表
- 迁移上述更改到数据库中,使用以下命令:
php artisan migrate;

- 现在,我们创建一个控制器来处理所有的数据库操作。

- 创建控制器后,我们将创建控制器的所有方法的路由。要创建路由,我们需要在 web.php 文件中编写以下代码:
Route::resource(‘student’,’StudentController’);

- 在这个步骤中,我们将定义 StudentController 类的 index() 方法,代码如下:
public function index()
{
$student=Student::all();
return view('index',compact('student'));
}
- 现在,我们创建一个视图页面( index.blade.php ),用于我们的应用程序。
index.blade.php
@extends('layout.master')
@section('content')
<h1> Student </h1>
<form action=="{{ route('student.store') }}"  method="Post">
@csrf
<div><input type="text" name="name"></div>
<br/>
<div><input type="button" value="Add Students"> </div>
</form>
<ul>
@foreach(student asstudents)
<li>{{$students->name}}</li>
 @endforeach
<ul>
@endsection
上述代码的输出如下所示:
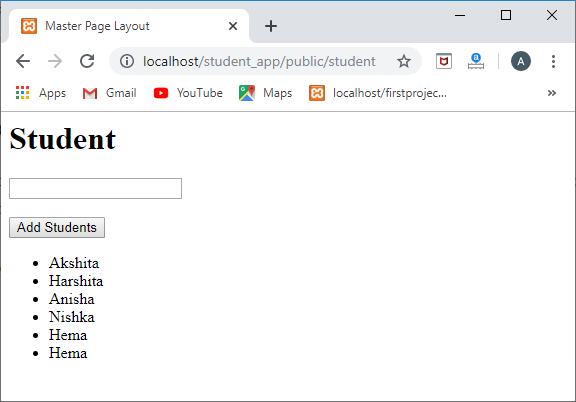
我们知道,StudentController 的 index() 方法的 URI 是 ‘/student’,所以当我们访问网址 ‘ localhost/student_app/public/student ‘ 时,就会调用 index() 方法。 index() 方法返回了 index.blade.php 文件的视图,如上面的截图所示。
- 当我们在上面截图中显示的文本框中输入数据时,它应该被保存在数据库中。为了实现这一点,以下是 store() 函数的代码:
public function store(Request request)
    {data=request->validate([   //  validating the name field.
        'name'=>'required']);student=new Student;
        student->name=request->get('name');
        $student->save();
    }
输出
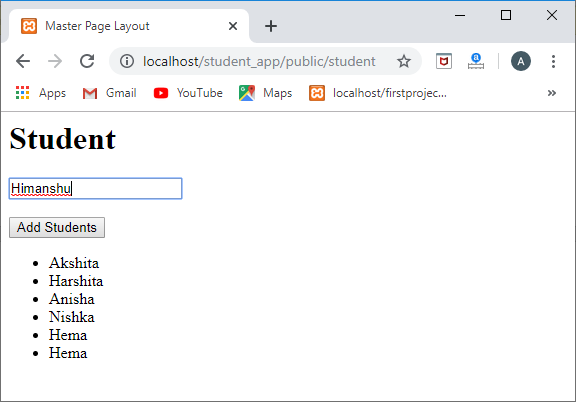
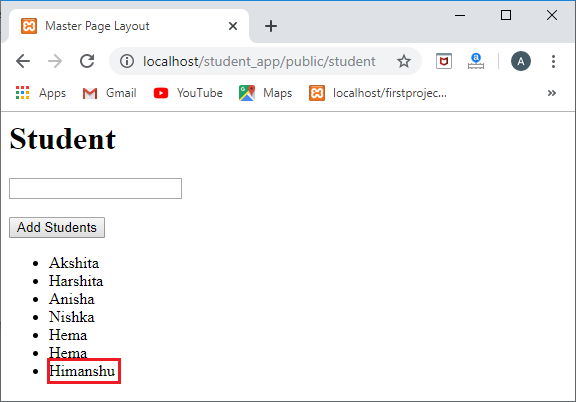
如上截图所示,’Himanshu’已添加到学生列表中,这意味着’添加学生’按钮正常工作。
有时,当我们不输入任何数据,然后按下’添加学生’按钮时,需要进行验证。我们在store()方法中添加了验证代码来验证’name’字段,但是我们没有显示任何错误消息。为了显示错误消息,laravel提供了’error变量’来显示错误消息。可以使用如下方式:
{{$errors->first('name')}}
在index.blade.php中添加上述代码后,index.blade.php文件的代码如下:
index.blade.php
@extends('layout.master')
@section('content')
<h1> Student </h1>
<form action="{{ route('student.store') }}" method="Post">
@csrf
<div><input type="text" name="name"></div>
<br/>
<div>{{errors->first('name')}}</div>
<br/>
<div><button type="submit">Add Students </div>
</form>
<ul>
@foreach(student as students)
<li>{{students->name}}</li>
 @endforeach
<ul>
@endsection
输出
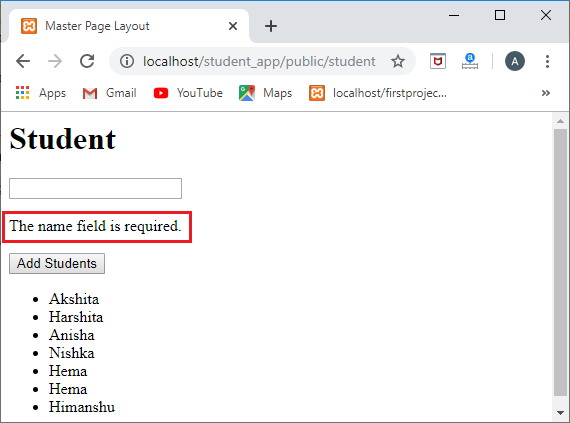
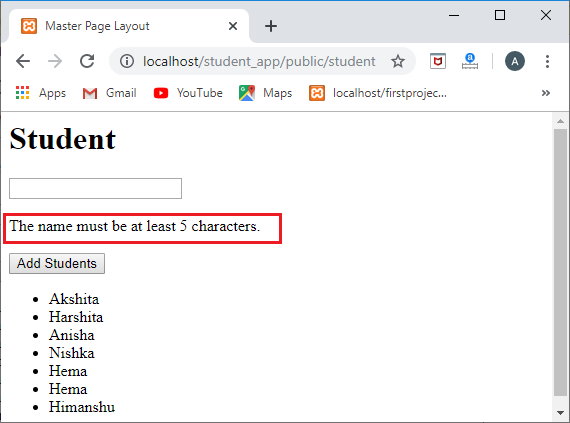
我们还可以限制文本框字段中的字符。如果我们想在名称字段中至少输入5个字符,那么我们可以在验证函数中使用 min 字段。
public function store(Request request)
    {data=request->validate([
        'name'=>'required|min:5']);student=new Student;
        student->name=request->get('name');
        $student->save();
    }
输出
 极客笔记
极客笔记