JavaScript 动画
在这篇文章中,我们将讨论JavaScript动画及其函数。
什么是JavaScript动画
JavaScript动画是通过对元素样式进行逐步编程更改来实现的。JavaScript动画可以执行 CSS 无法完成的任务。 JavaScript可以根据逻辑方程或函数在页面上转移多个 DOM 元素。JavaScript包括下面提到的三个函数,这些函数在动画程序中经常使用。
- setTimeout(function,duration) :此函数可用于在毫秒延迟后调用函数。
- setInterval(function,duration) :此函数可用于在每个持续时间的毫秒后调用函数。
- clearTimeout(setTimeout_variable) :此函数可用于清除由 setTimeout() 设置的计时器。
JavaScript还可以修改 DOM 对象的属性,例如其在屏幕上的位置。可以将对象的top和left属性设置为在框架上的任何位置。 JavaScript的语法可以定义为:
// Set the distance from the left side of the screen.
object.style.left = distance in pixels or points;
and
// Set the distance from the top side of the screen.
object.style.top = distance in pixels or points;
示例
让我们以一个基本的示例来理解如何创建一个基本的JavaScript动画网页。
<!DOCTYPE html>
<html>
  <head>
    <title>JavaScript Animation</title>
  </head>
<body>
<h1>My First JavaScript Animation</h1>
<div id ="myContainer">
    <div id ="myAnimation">My first animation is here</div>
</div>
</body>
<html>
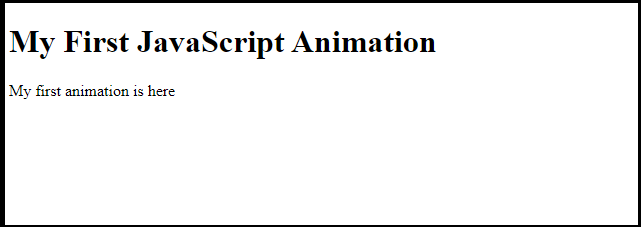
输出: 执行此代码后,我们将在屏幕截图中显示下面所示的输出。
样式化元素
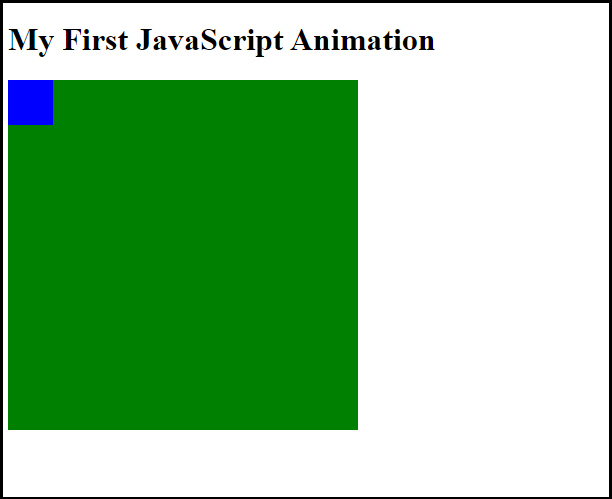
让我们通过样式化元素来演示动画。在这里,我们通过 style = “position: relative” 创建一个容器元素,并通过 style = “position: absolute” 在容器元素中创建一个动画元素。
示例:
<!Doctype html>
<html>
  <head>
    <title>JavaScript Animation</title>
  </head>
<style>
#myContainer {
  width: 350px;
  height: 350px;
  position: relative;
  background: green;
}
#myAnimation {
  width: 45px;
  height: 45px;
  position: absolute;
  background: blue;
}
</style>
<body>
<h1>My First JavaScript Animation</h1>
<div id="myContainer">
<div id="myAnimation"></div>
</div>
</body>
</html>
输出: 在执行此代码后,我们将在屏幕截图下方看到如下的输出。
示例:
让我们再举一个示例来理解如何在JavaScript中创建动画。
<!DOCTYPE html>
<html>
  <head>
    <title>JavaScript Animation</title>
  </head>
<style>
#myContainer {
  width: 350px;
  height: 350px;
  position: relative;
  background: green;
}
#myAnimation {
  width: 45px;
  height: 45px;
  position: absolute;
  background-color: rgb(226, 43, 43);
}
</style>
<body>
<p>
<button onclick="myMove()">Click Here</button>
</p>
<div id ="myContainer">
<div id ="myAnimation"></div>
</div>
<script>
var id = null;
function myMove() {
  var elem = document.getElementById("myAnimation");
  var pos = 0;
  clearInterval(id);
  id = setInterval(frame, 10);
  function frame() {
    if (pos == 300) {
      clearInterval(id);
    } else {
      pos++;
      elem.style.top = pos + 'px';
      elem.style.left = pos + 'px';
    }
  }
}
</script>
</body>
</html>
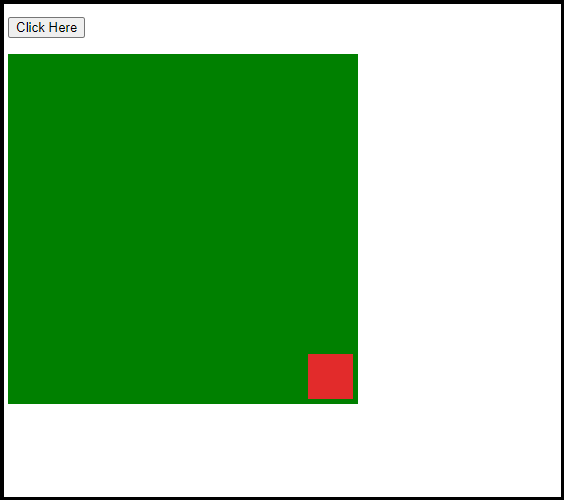
输出: 执行此代码后,我们将在下面的屏幕截图中看到如下输出。
手动动画
现在,使用DOM对象属性和JavaScript函数,让我们来看一个简单的动画示例。
示例
<!DOCTYPE html>
<html>
   <head>
      <title>JavaScript Animation</title>
      <h1>JavaScript Animation</h1>
      <script type = "text/javascript">
         <!--
            var imgObj = null;
            function init() {
               imgObj = document.getElementById('myImage');
               imgObj.style.position= 'relative';
               imgObj.style.left = '0px';
            }
            function moveRight() {
               imgObj.style.left = parseInt(imgObj.style.left) + 10 + 'px';
            }
            window.onload = init;
         //-->
      </script>
   </head>
   <body>
      <form>
         <img id = "myImage" src = "/C:\Users\hp\Downloads\images.jpg" />
         <p>Click the button below to move the image left to right</p>
         <input type = "button" value = "Click Here" onclick = "moveRight();" />
      </form>
   </body>
</html>
输出: 在执行此代码后,我们将得到如下屏幕截图所示的输出结果。
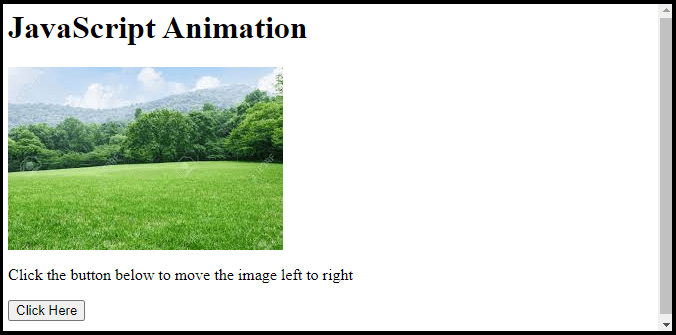
在屏幕截图中,我们看到有一个 “点击这里” 按钮。当我们点击按钮时,图像会在每次点击时 从左到右 移动,如屏幕截图所示。
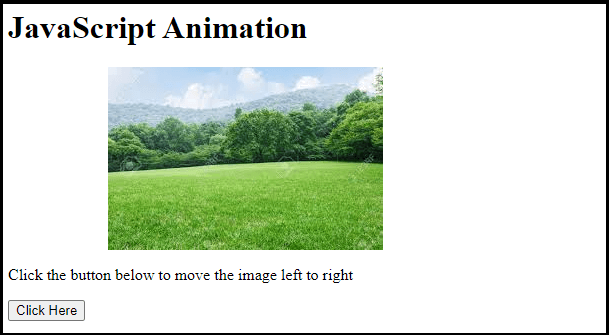
解释
- 要获取一个 DOM 对象,我们使用JavaScript函数 getElementById() ,然后将其赋给全局变量 imgObj 。
- 要初始化 imgObj ,我们定义了一个初始化函数 init() ,在其中设置其位置和左属性。
- 当窗口加载时,我们调用初始化函数。
- 最后,我们使用 moveRight() 函数将 left 的值增加 10 像素。要将其切换到左侧,我们可以将其设置为负值。
自动动画
在前面的示例中,我们已经看到图像如何在每次点击时向屏幕右侧移动。我们可以使用JavaScript函数 setTimeout() 来自动化此方法,它的用法如下:
示例
让我们举一个示例来说明如何创建一个JavaScript自动化动画。
<!DOCTYPE html>
<html>
   <head>
      <title>JavaScript Animation</title>
      <script type = "text/javascript">
         <!--
            var imgObj = null;
            var animate ;
            function init() {
               imgObj = document.getElementById('myImg');
               imgObj.style.position= 'relative';
               imgObj.style.left = '0px';
            }
            function moveRight() {
               imgObj.style.left = parseInt(imgObj.style.left) + 10 + 'px';
               animate = setTimeout(moveRight,12);
            }
            function stop() {
               clearTimeout(animate);
               imgObj.style.left = '0px';
            }
            window.onload = init;
         //-->
      </script>
   </head>
   <body>
     <h1>JavaScript Automated Animation</h1>
      <form>
        <p>Click the buttons below to manage the automated animation</p>
         <img id = "myImg" src = "/C:\Users\hp\Downloads\images.jpg" />
         <input type = "button" value = "Start" onclick = "moveRight();" />
         <input type = "button" value = "Stop" onclick = "stop();" />
      </form>
   </body>
</html>
输出: 在执行上述代码之后,我们将得到如下所示的输出(如屏幕截图所示)。
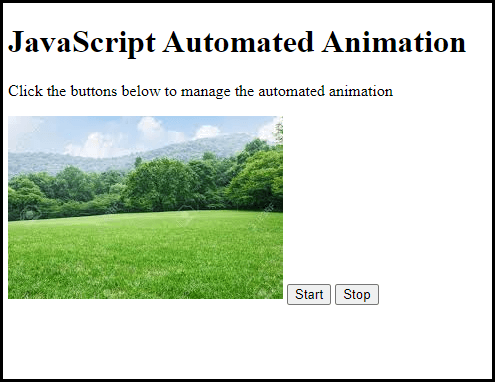
正如我们在上面的截图中所见,有一个 开始 和 停止 按钮。当我们点击开始按钮时,图片会向 右侧 动画。如果我们点击停止按钮,图片会定位在原始位置。
解释:
在这个示例中,我们可以添加两个帮助实现动画自动化的方法。这些方法如下所示:
- moveRight() :为了设置 imgObj 的位置, moveRight() 方法调用 setTimeout()
- Stop() :我们添加了一个新函数 stop() ,它将对象重置为其原始状态,并清除由 setTimeout() 设置的定时器
 极客笔记
极客笔记