使用Python和OpenCV对图像进行负转换
反转亮度的图像被称为负图像,图像的亮部分会变暗,暗部分会变亮。彩色图像(RGB图像)的负转换会反转,红色区域会变为青色,绿色区域会变为洋红色,蓝色区域会变为黄色。
在医学成像、遥感和其他一些应用中,负转换广泛使用。它还有助于从图像的较暗区域找到细节。
负转换函数为-
我们知道8位图像的最大强度值为255,因此我们需要从255(最大强度值)中减去每个像素以生成负图像。
s = T(r) = L – 1 – r
在本文中,我们将介绍使用OpenCV Python获取图像的负变换的不同方法。
使用cv2.bitwise_not()函数:
该函数计算输入数组的按位反转。以下是not()函数的语法:
cv2.bitwise_not(src[, dst[, mask]])
参数
- src:输入图像数组。
-
dst:输出数组,与输入数组具有相同的大小和类型(可选)。
-
mask:可选参数。
示例
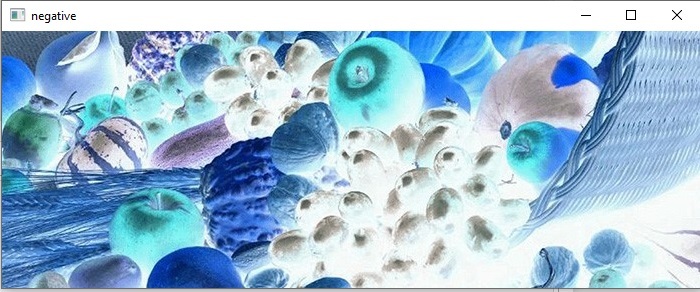
在这个示例中,我们将反转图像数组的每个值,以获得负图像。
import cv2

# Load the image
img = cv2.imread('Images/Fruits.jpg')

# Invert the image using cv2.bitwise_not
img_neg = cv2.bitwise_not(img)

# Show the image
cv2.imshow('negative',img_neg)
cv2.waitKey(0)
输入图像

输出图像
使用减法
在这种方法中,我们使用两个for循环(基于图像的尺寸)遍历像素,然后从最大像素值(255)中减去每个像素的红色、绿色和蓝色值。
示例
让我们实现一个不使用任何函数的彩色图像的负转换。
import cv2

# Load the image
img = cv2.imread('Images/Fruits.jpg', cv2.COLOR_BGR2RGB)

height, width, _ = img.shape

for i in range(0, height - 1):
   for j in range(0, width - 1):
      # each pixel has RGB channle data
      pixel = img[i, j]

      # red
      pixel[0] = 255 - pixel[0]

      # green
      pixel[1] = 255 - pixel[1]

      # blue
      pixel[2] = 255 - pixel[2]

      # Store new values in the pixel
      img[i, j] = pixel

# Display the negative transformed image
cv2.imshow('negative image', img)
cv2.waitKey(0)
输出图像
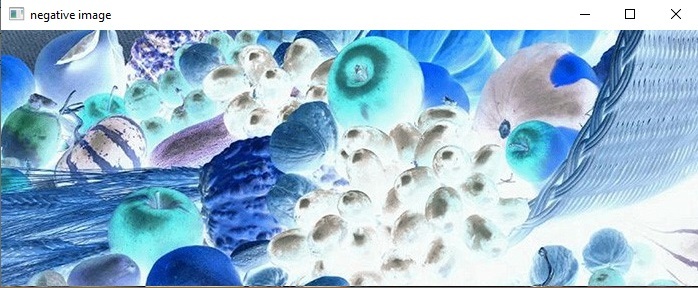
我们成功地将彩色图像转换为负片。首先,我们使用for循环迭代图像数组的所有值(像素数据),然后将每个像素值从最大像素值(255)中减去,以获取负片转换后的图像。
示例
在这里,我们将直接应用最大强度值与图像数组之间的减法操作,而不是循环每个像素。
import numpy as np
import cv2

img = cv2.imread('Images/Fruits.jpg')

# Subtract the img array values from max value(calculated from dtype)
img_neg = 255 - img

# Show the negative image
cv2.imshow('negative',img_neg)
cv2.waitKey(0)
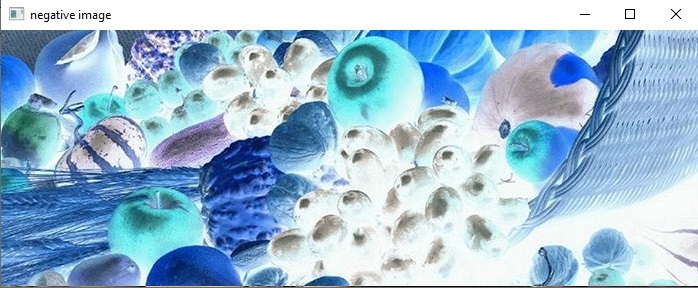
输出
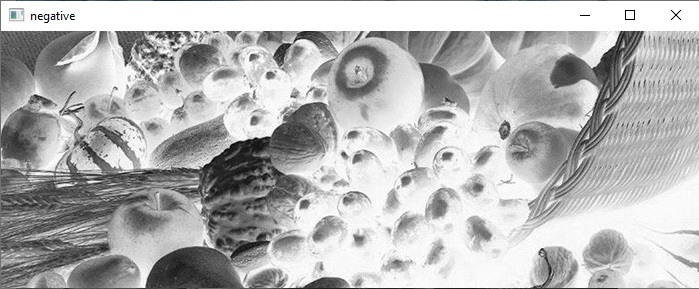
对于灰度图像
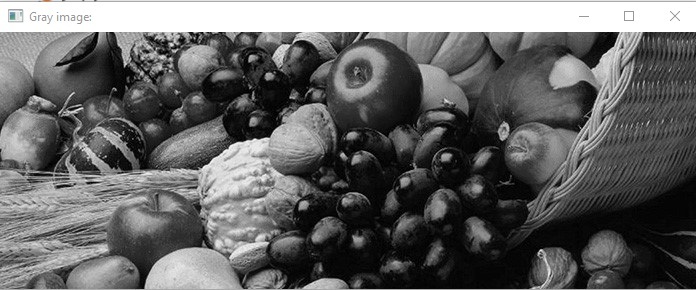
对于灰度图像,图像的亮部在负变换中会变暗,而较暗的部分则会变亮。
示例
在这个示例中,我们将以灰度模式读取图像以生成其负片。
import cv2

# Load the image
gray = cv2.imread('Images/Fruits.jpg', 0)

cv2.imshow('Gray image:', gray)

# Invert the image using cv2.bitwise_not
gray_neg = cv2.bitwise_not(gray)

# Show the image
cv2.imshow('negative',gray_neg)
cv2.waitKey(0)
输入图像
输出图像
我们已经看到了使用OpenCV Python获得图像负变换的不同方法。
 极客笔记
极客笔记