PHP Imagecolorallocate() 函数
Imagecolorallocate() 函数是另一个内置的 PHP 函数,主要用于给图像添加一种新的颜色。它以 RGB 格式(红绿蓝)返回图像的颜色。
语法
imagecolorallocate( image , red , green , blue )
参数: 此函数接受四个参数。
| S.No | 参数 | 描述 | 可选/必填 |
|---|---|---|---|
| 1 | $image | 此参数用于定义要显示的图像的大小。此参数由像imagecreatetruecolor()函数或imagecreate()函数这样的图像资源使用,它返回一个图像源。 | 必填 |
| 2 | $red | 此参数用于定义图像的红色分量的值。 | 必填 |
| 3 | $green | 此参数用于定义图像的绿色分量的值。 | 必填 |
| 4 | $blue | 此参数用于定义图像的蓝色分量的值。 | 必填 |
imagecolorallocate()函数在程序成功执行时返回新颜色的标识符。如果未指定图像的颜色或不含任何颜色,则在尝试失败时返回false。
程序1: PHP程序显示了 imagecolorallocate() 函数的基本用法
<!DOCTYPE html>
<html lang="en">
<head>
  <meta charset="UTF ? 8">
  <meta http ? equiv="X ? UA ? Compatible" content="IE=edge">
  <meta name="viewport" content="width=device-width, initial ? scale=1.0">
  <title>PHP</title>
</head>
<body>
<?php

// to define the size of the image
image= imagecreatetruecolor (400, 200);

// to define the background color of the imagebackground-color= imagecolorallocate(image, 0, 150, 2);

// to fill the selected color in the background
Imagefill ( image , 0 , 0 , background-color ) ;

Header("Content ? Type: image/png");

Imagepng(image);
Imagedestroy($image);

?>
</body>
</html>
输出
上述代码会产生以下输出结果。

在这个程序中,我们声明了各种变量,比如 $image 来定义我们需要的图像的大小, $background color 来定义我们需要的背景颜色。我们使用了 image fill() 函数将声明的颜色设置为图像的背景。为了显示图像的输出,我们使用了内置的PHP命令 header 和 imagepng 来在浏览器上显示。
程序2: PHP程序显示了 imagecolorallocate() 和 imagestring() 函数的基本用法。
<!DOCTYPE html>
<html lang="en">
<head>
  <meta charset="UTF ? 8">
  <meta http ? equiv="X ? UA ? Compatible" content="IE=edge">
  <meta name="viewport" content="width=device-width, initial ? scale=1.0">
  <title>PHP</title>
</head>
<body>
<?php

// to define the size of the image
image= imagecreatetruecolor (400, 200);

// to define the background color of the imagebackground-color= imagecolorallocate(image, 0, 150, 2);

// to define the text color of the imagetext-color= imagecolorallocate(image, 255, 255, 255);

// function which will define the character to be displayed on the screen
Imagestring(image, 5, 180, 100,  "GOOD MORNING EVERYONE ", text-color);
Imagestring(image, 3, 160, 120,  "HELLO WORLD ", text-color);

Header("Content ? Type: image/png");

Imagepng(image);
Imagedestroy($image);

?>
</body>
</html>
输出
上面的程序输出如下。

在这个程序中,我们声明了各种变量,如 $ image 来定义所需的图像大小 ,$background color 用于定义所需的背景颜色, $text color 用于定义所需的文本颜色。我们使用 image string() 函数声明要显示为图像的字符串。为了显示图像输出,我们使用内置的PHP命令 header 和 imagepng 在浏览器上显示。
程序3: PHP程序显示了 imagecolorallocate() 与 imagefilledrectangle() 函数的基本使用方式。
<!DOCTYPE html>
<html lang = " en ">
<head>
  <meta charse t= " UTF ? 8 ">
  <meta http ? equiv = " X ? UA ? Compatible " content = " IE = edge ">
  <meta name = " viewport " content = " width = device - width, initial ? scale = 1 .0">
  <title> PHP </title>
</head>
<body>
<? php

// to define the size of the image
image = imagecreate(100, 100);

// to define the green color in the imagebackground-color = imagecolorallocate ( image, 0, 155, 0 );

// to define a black color in the imagebackground-color-2 = imagecolorallocate ( image, 0, 0, 0 );

//to draw a rectangle using the green color
Imagefilledrectangle(image , 55 , 55 , 455 , 310 , background-color);

// to display the image on the browser
header ( ' Content ? type : image / png ');
imagepng (image);

//to release the stored memory
imagedestroy($image);
?>
</body>
</html>
输出

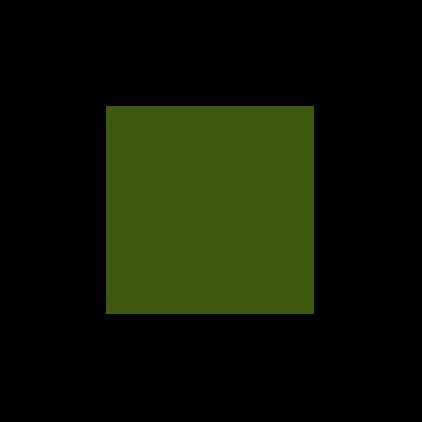
在这个程序中,我们声明了各种变量,如 $image 来定义我们所需的图像大小, $background color 来定义所需的背景色, $background-color-2 来定义所需的其他背景颜色。我们使用 the imagefilledrectangle() 函数创建一个绿色矩形。为了显示图像的输出,我们使用内置的PHP命令 header 和 imagepng 在浏览器上显示。
程序4: PHP程序展示使用 imagecolorallocate() 函数来使用 imagecreatetruecolor() 函数绘制多边形。
<!DOCTYPE html>
<html lang="en">
<head>
  <meta charset="UTF ? 8">
  <meta http ? equiv="X ? UA ? Compatible" content="IE=edge">
  <meta name="viewport" content="width=device-width, initial ? scale=1.0">
  <title>PHP</title>
</head>
<body>
<?php

// to define the size of the image
image = imagecreatetruecolor (400, 200);

// to define the vertices of the polygon we need to definevalues = array(
            51 ,  51,  // Point 1 (x, y)
            51 , 251 ,  // Point 2 (x, y)
            251 , 51 ,  // Point 3 (x, y)
            251 ,  251 // Point 4 (x, y)
        );
// to define the background color of the image
background-color = imagecolorallocate(image, 151 ,210,181 );

Imagefill( image , 0 , 0 ,background-color);

// to define the text color of the polygon
text-color = imagecolorallocate(image, 255, 255, 255);

// polygon
imagepolygon( image ,values , 4 , text-color);

header('Content ? type: image/png');

imagepng(image);
?>
</body>
</html>
输出

程序4: PHP程序显示使用 imagecolorallocate() 函数绘制多边形。
<!DOCTYPE html>
<html lang="en">
<head>
  <meta charset="UTF ? 8">
  <meta http ? equiv="X ? UA ? Compatible" content="IE=edge">
  <meta name="viewport" content="width=device-width, initial ? scale=1.0">
  <title>PHP</title>
</head>
<body>
<?php

// to define the size of the image
image = imagecreate(400, 200);

// to define the vertices of the polygon we need to definevalues = array(
            151 ,  51,  // Point 1 (x, y)
            51 , 251 ,  // Point 2 (x, y)
            251 , 251 ,  // Point 3 (x, y)
                   );
// to define the background color of the image
background-color = imagecolorallocate(image, 0 ,150 ,0 );

Imagefill( image , 0 , 0 ,background-color);

// to define the text color of the polygon
text-color = imagecolorallocate(image, 255, 255, 255);

// polygon
imagepolygon( image ,values , 3 , text-color);

header('Content ? type: image/png');

imagepng(image);
?>
</body>
</html>
输出

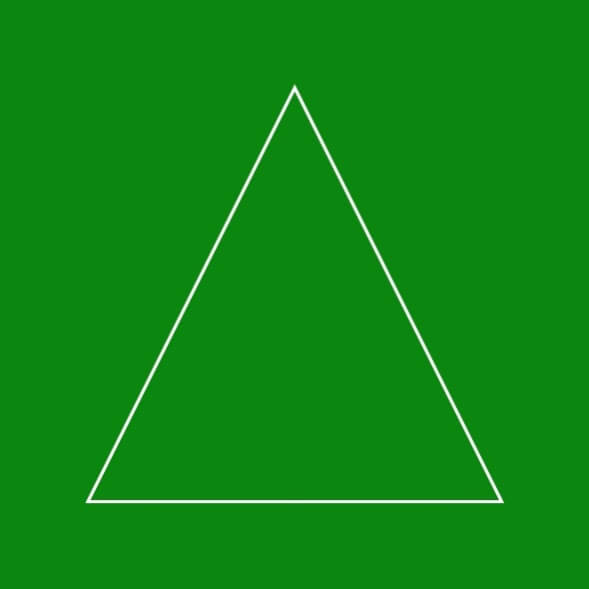
在这个程序中,我们声明了各种变量,如 $image 用于定义所需图像的大小, $background color 用于定义所需的背景颜色, $text color 用于定义所需的文字颜色, $values 用于设置我们需要声明的多边形的坐标。我们使用了 image polygon() 函数来显示所需的多边形作为图像,为了显示图像的输出,我们使用了内置的PHP命令 header 和 imagepng 来在浏览器上显示。
 极客笔记
极客笔记