Matplotlib 文本颜色设置:全面指南与实用技巧
Matplotlib 是 Python 中最流行的数据可视化库之一,它提供了丰富的文本颜色设置选项,使得图表更加美观和易读。本文将深入探讨 Matplotlib 中文本颜色的设置方法,包括基本用法、高级技巧以及常见问题的解决方案。我们将通过详细的示例代码和解释,帮助您掌握 Matplotlib 文本颜色设置的各种技巧。
1. 基本文本颜色设置
在 Matplotlib 中,我们可以使用多种方式来设置文本的颜色。最常见的方法是通过 color 参数来指定颜色。
1.1 使用颜色名称
Matplotlib 支持多种预定义的颜色名称,如 ‘red’、’blue’、’green’ 等。
import matplotlib.pyplot as plt

fig, ax = plt.subplots()
ax.text(0.5, 0.5, 'How2matplotlib.com - Red Text', color='red', ha='center', va='center')
plt.show()
Output:
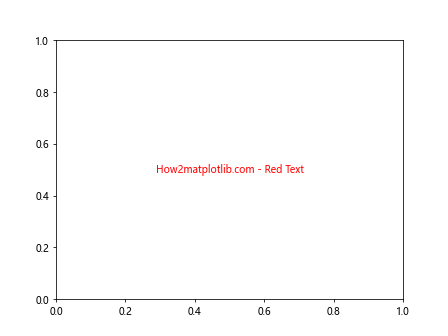
在这个示例中,我们使用 ax.text() 方法在图表中添加文本,并通过 color='red' 将文本颜色设置为红色。ha='center' 和 va='center' 用于将文本水平和垂直居中。
1.2 使用 RGB 值
除了颜色名称,我们还可以使用 RGB 值来精确指定颜色。RGB 值以元组形式表示,每个分量的范围是 0 到 1。
import matplotlib.pyplot as plt

fig, ax = plt.subplots()
ax.text(0.5, 0.5, 'How2matplotlib.com - Custom RGB Color', color=(0.2, 0.4, 0.6), ha='center', va='center')
plt.show()
Output:
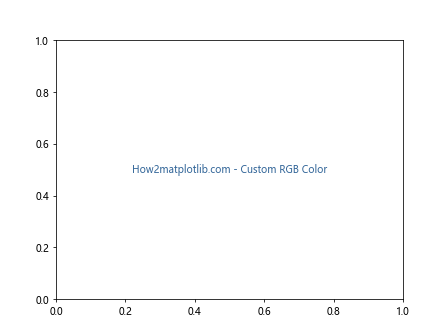
在这个例子中,我们使用 color=(0.2, 0.4, 0.6) 来设置一个自定义的蓝色调。
1.3 使用十六进制颜色代码
十六进制颜色代码是另一种常用的颜色表示方法。它以 ‘#’ 开头,后跟 6 个十六进制数字。
import matplotlib.pyplot as plt

fig, ax = plt.subplots()
ax.text(0.5, 0.5, 'How2matplotlib.com - Hex Color Code', color='#FF5733', ha='center', va='center')
plt.show()
Output:
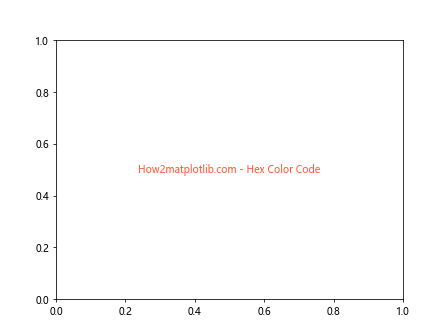
这里我们使用 color='#FF5733' 来设置一个橙红色的文本。
2. 高级文本颜色设置
除了基本的颜色设置,Matplotlib 还提供了一些高级的文本颜色设置选项,让您的图表更加丰富多彩。
2.1 使用颜色映射(Colormap)
颜色映射是一种将数值映射到颜色的方法,特别适用于表示连续数据。
import matplotlib.pyplot as plt
import numpy as np

fig, ax = plt.subplots()
cmap = plt.get_cmap('viridis')
for i in range(10):
    color = cmap(i / 10)
    ax.text(0.1, i / 10, f'How2matplotlib.com - Color {i}', color=color)
plt.show()
Output:
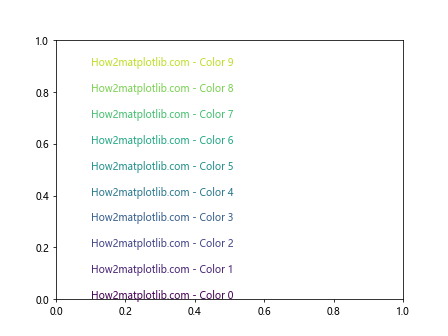
这个示例使用 ‘viridis’ 颜色映射创建了一系列渐变色的文本。cmap(i / 10) 将 0 到 1 之间的值映射到颜色映射中的颜色。
2.2 使用透明度
透明度可以通过 alpha 参数来控制,取值范围是 0(完全透明)到 1(完全不透明)。
import matplotlib.pyplot as plt

fig, ax = plt.subplots()
for i in range(5):
    alpha = (i + 1) / 5
    ax.text(0.5, i / 5, f'How2matplotlib.com - Alpha {alpha:.1f}', color='blue', alpha=alpha, ha='center')
plt.show()
Output:
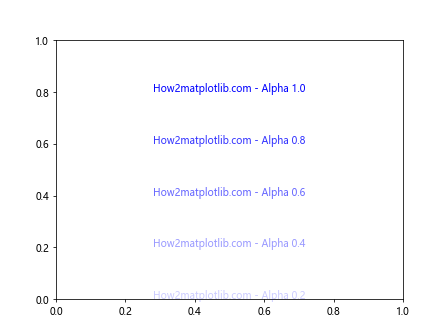
这个例子展示了不同透明度的蓝色文本,从几乎透明到完全不透明。
2.3 使用渐变色文本
虽然 Matplotlib 不直接支持文本渐变色,但我们可以通过创建多个重叠的文本来模拟渐变效果。
import matplotlib.pyplot as plt
import matplotlib.patheffects as path_effects

fig, ax = plt.subplots()
text = ax.text(0.5, 0.5, 'How2matplotlib.com', ha='center', va='center', fontsize=20)
text.set_path_effects([
    path_effects.Stroke(linewidth=3, foreground='red'),
    path_effects.Stroke(linewidth=2, foreground='orange'),
    path_effects.Normal()
])
plt.show()
Output:
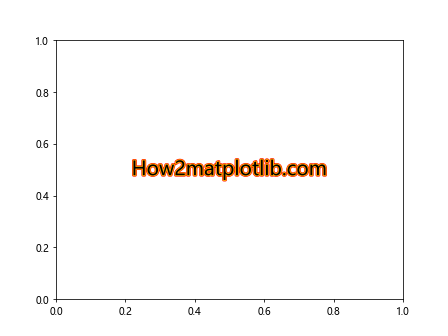
这个示例创建了一个看起来有渐变效果的文本,通过设置不同颜色和宽度的描边来实现。
3. 文本颜色与背景
文本颜色的选择通常需要考虑背景色,以确保文本清晰可读。
3.1 设置文本背景色
我们可以为文本添加背景色来增强可读性。
import matplotlib.pyplot as plt

fig, ax = plt.subplots(facecolor='lightgray')
ax.text(0.5, 0.5, 'How2matplotlib.com - Text with Background',
        ha='center', va='center', color='white',
        bbox=dict(facecolor='blue', edgecolor='none', alpha=0.7))
plt.show()
Output:
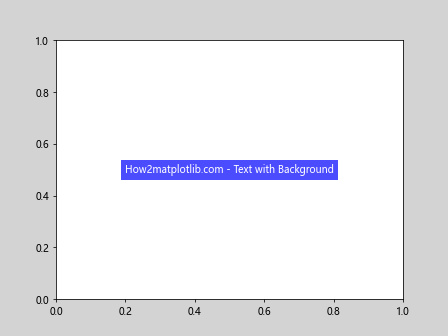
在这个例子中,我们使用 bbox 参数为文本添加了蓝色背景,并设置了一定的透明度。
3.2 自动调整文本颜色
有时我们需要根据背景自动调整文本颜色。以下是一个简单的函数,可以根据背景亮度选择黑色或白色文本。
import matplotlib.pyplot as plt
import numpy as np

def get_text_color(bg_color):
    r, g, b = [int(bg_color[i:i+2], 16) for i in (1, 3, 5)]
    luminance = (0.299 * r + 0.587 * g + 0.114 * b) / 255
    return 'white' if luminance < 0.5 else 'black'

fig, ax = plt.subplots()
bg_colors = ['#FF0000', '#00FF00', '#0000FF', '#FFFF00']
for i, bg in enumerate(bg_colors):
    text_color = get_text_color(bg)
    ax.text(0.25 * (i + 1), 0.5, f'How2matplotlib.com\n{bg}',
            ha='center', va='center', color=text_color,
            bbox=dict(facecolor=bg, edgecolor='none'))
plt.show()
Output:
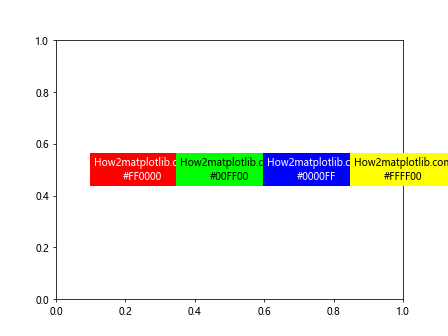
这个示例展示了如何根据背景色自动选择合适的文本颜色,确保文本在不同背景下都清晰可见。
4. 文本颜色动画
Matplotlib 还支持创建动画,我们可以利用这一特性来制作文本颜色变化的动画效果。
import matplotlib.pyplot as plt
import matplotlib.animation as animation
import numpy as np

fig, ax = plt.subplots()
text = ax.text(0.5, 0.5, 'How2matplotlib.com - Color Animation', ha='center', va='center', fontsize=20)

def animate(frame):
    r = (np.sin(frame * 0.1) + 1) / 2
    g = (np.sin(frame * 0.1 + 2*np.pi/3) + 1) / 2
    b = (np.sin(frame * 0.1 + 4*np.pi/3) + 1) / 2
    text.set_color((r, g, b))
    return text,

ani = animation.FuncAnimation(fig, animate, frames=100, interval=50, blit=True)
plt.show()
Output:
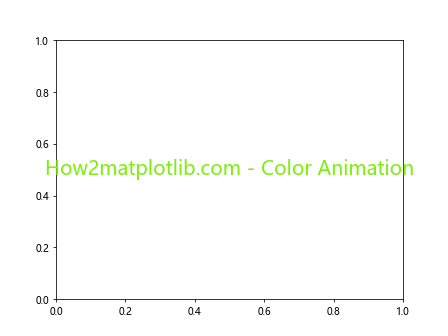
这个动画示例展示了如何创建一个颜色随时间变化的文本。animate 函数根据帧数计算 RGB 值,从而实现颜色的平滑变化。
5. 文本颜色与数据可视化
在数据可视化中,文本颜色可以用来强调重要信息或表示数据的某些特征。
5.1 根据数值设置文本颜色
我们可以根据数据值来设置文本颜色,以直观地表示数据的大小或重要性。
import matplotlib.pyplot as plt
import numpy as np

fig, ax = plt.subplots()
data = np.random.rand(10)
cmap = plt.get_cmap('coolwarm')
for i, value in enumerate(data):
    color = cmap(value)
    ax.text(0.1, i / 10, f'How2matplotlib.com - Value: {value:.2f}', color=color)
plt.show()
Output:
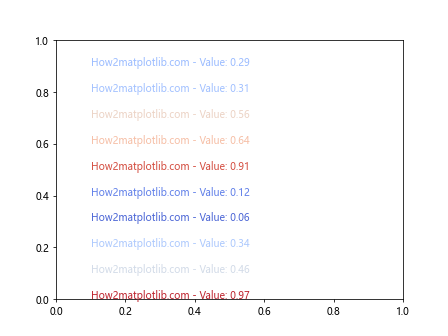
这个例子使用 ‘coolwarm’ 颜色映射根据数据值设置文本颜色,较大的值显示为暖色,较小的值显示为冷色。
5.2 在散点图中使用彩色文本标签
在散点图中,我们可以使用彩色文本来标注特定的点。
import matplotlib.pyplot as plt
import numpy as np

fig, ax = plt.subplots()
x = np.random.rand(20)
y = np.random.rand(20)
colors = np.random.rand(20, 3)
scatter = ax.scatter(x, y, c=colors)

for i, (xi, yi) in enumerate(zip(x, y)):
    ax.text(xi, yi, f'P{i}', color=colors[i], ha='center', va='center')

ax.set_title('How2matplotlib.com - Colored Text Labels')
plt.show()
Output:
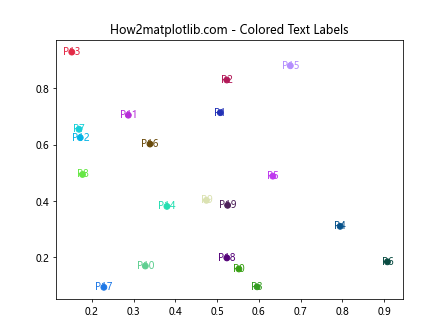
这个示例在散点图中为每个点添加了彩色的文本标签,标签的颜色与点的颜色相匹配。
6. 处理中文文本颜色
在处理中文文本时,我们需要特别注意字体的选择,以确保中文字符能够正确显示。
import matplotlib.pyplot as plt
import matplotlib.font_manager as fm

plt.rcParams['font.sans-serif'] = ['SimHei']  # 使用黑体
plt.rcParams['axes.unicode_minus'] = False  # 解决负号显示问题

fig, ax = plt.subplots()
ax.text(0.5, 0.5, 'How2matplotlib.com - 中文文本颜色示例',
        ha='center', va='center', color='red', fontsize=16)
plt.show()
Output:
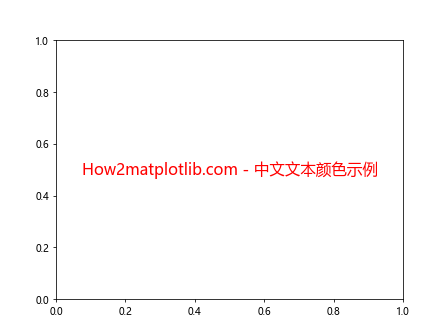
这个例子展示了如何在 Matplotlib 中正确显示彩色中文文本。我们使用 plt.rcParams 设置了合适的中文字体。
7. 文本颜色与图表主题
Matplotlib 提供了多种内置主题,我们可以根据不同的主题调整文本颜色。
import matplotlib.pyplot as plt

themes = ['default', 'seaborn', 'ggplot', 'bmh']
fig, axs = plt.subplots(2, 2, figsize=(12, 8))
axs = axs.ravel()

for i, theme in enumerate(themes):
    with plt.style.context(theme):
        axs[i].text(0.5, 0.5, f'How2matplotlib.com\n{theme} Theme',
                    ha='center', va='center')
        axs[i].set_title(theme)

plt.tight_layout()
plt.show()
这个示例展示了不同主题下文本颜色的变化。每个子图使用不同的主题,文本颜色会自动适应主题的整体风格。
8. 文本颜色与可访问性
在设计图表时,考虑色盲用户的需求是很重要的。我们应该选择对比度足够的颜色组合。
import matplotlib.pyplot as plt
import matplotlib.colors as mcolors

def is_color_friendly(color1, color2, threshold=4.5):
    # 简化的对比度计算
    lum1 = mcolors.rgb_to_hsv(mcolors.to_rgb(color1))[2]
    lum2 = mcolors.rgb_to_hsv(mcolors.to_rgb(color2))[2]
    contrast = (max(lum1, lum2) + 0.05) / (min(lum1, lum2) + 0.05)
    return contrast >= threshold

fig, ax = plt.subplots(facecolor='lightgray')
colors = ['red', 'blue', 'green', 'yellow']
for i, color in enumerate(colors):
    if is_color_friendly(color, 'lightgray'):
        ax.text(0.25 * (i + 1), 0.5, f'How2matplotlib.com\n{color}',
                ha='center', va='center', color=color)
    else:
        ax.text(0.25 * (i + 1), 0.5, f'How2matplotlib.com\n{color}\n(Low Contrast)',
                ha='center', va='center', color=color, alpha=0.5)

plt.show()
Output:
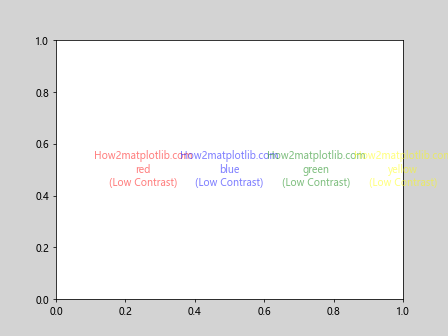
这个示例展示了如何检查文本颜色与背景的对比度,并标记出对比度不足的颜色。
9. 文本颜色与图例
在创建图例时,我们通常希望图例文本的颜色与对应的图形元素颜色一致。
import matplotlib.pyplot as plt
import numpy as np

fig, ax = plt.subplots()
x = np.linspace(0, 10, 100)
colors = ['red', 'blue', 'green']
for i, color in enumerate(colors):
    ax.plot(x, np.sin(x + i), color=color, label=f'Line {i+1}')

legend = ax.legend()
for text, color in zip(legend.get_texts(), colors):
    text.set_color(color)

ax.set_title('How2matplotlib.com - Colored Legend Text')
plt.show()
Output:
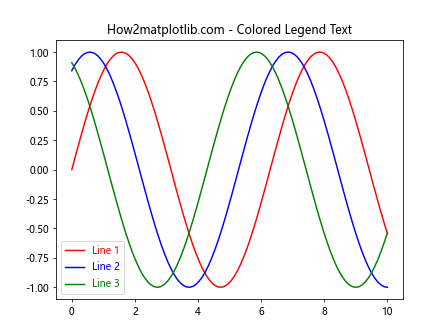
这个示例展示了如何创建一个图例,其中文本颜色与对应的线条颜色相匹配。我们通过遍历图例文本并设置其颜色来实现这一效果。
10. 文本颜色渐变效果
虽然 Matplotlib 不直接支持单个文本的颜色渐变,但我们可以通过创建多个重叠的文本来模拟渐变效果。
import matplotlib.pyplot as plt
import numpy as np

fig, ax = plt.subplots(figsize=(10, 4))
text = "How2matplotlib.com - Gradient Text"
x = np.linspace(0, 1, len(text))
cmap = plt.get_cmap('rainbow')

for i, char in enumerate(text):
    color = cmap(x[i])
    ax.text(i * 0.05, 0.5, char, color=color, fontsize=20, ha='center', va='center')

ax.axis('off')
plt.show()
Output:

这个示例通过为每个字符单独设置颜色来创建一个彩虹渐变效果的文本。
11. 文本颜色与数据关联
在某些数据可视化场景中,我们可能需要根据数据值来设置文本颜色。
import matplotlib.pyplot as plt
import numpy as np

fig, ax = plt.subplots()
data = np.random.randn(10, 10)
im = ax.imshow(data, cmap='coolwarm')

for i in range(10):
    for j in range(10):
        value = data[i, j]
        color = 'white' if abs(value) > 1 else 'black'
        ax.text(j, i, f'{value:.2f}', ha='center', va='center', color=color)

plt.colorbar(im)
ax.set_title('How2matplotlib.com - Data-driven Text Color')
plt.show()
Output:
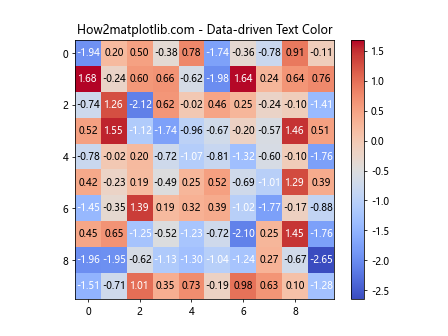
这个例子展示了如何在热图中根据数据值设置文本颜色,使得文本在不同背景下都清晰可见。
12. 文本颜色与动态更新
在一些交互式或实时更新的图表中,我们可能需要动态改变文本颜色。
import matplotlib.pyplot as plt
import numpy as np
from matplotlib.animation import FuncAnimation

fig, ax = plt.subplots()
x = np.linspace(0, 2*np.pi, 100)
line, = ax.plot(x, np.sin(x))
text = ax.text(np.pi, 0, 'How2matplotlib.com', ha='center', va='center')

def update(frame):
    line.set_ydata(np.sin(x + frame/10))
    color = plt.cm.viridis(frame / 100)
    text.set_color(color)
    return line, text

ani = FuncAnimation(fig, update, frames=100, blit=True)
plt.show()
Output:
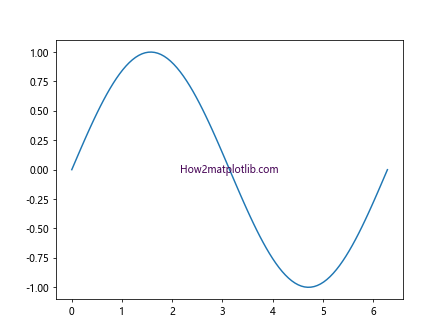
这个动画示例展示了如何在动画过程中动态更新文本颜色,创造出丰富的视觉效果。
13. 文本颜色与 3D 图表
在 3D 图表中,文本颜色的设置可以帮助增强空间感和可读性。
import matplotlib.pyplot as plt
import numpy as np

fig = plt.figure()
ax = fig.add_subplot(111, projection='3d')

x = np.linspace(-5, 5, 100)
y = np.linspace(-5, 5, 100)
X, Y = np.meshgrid(x, y)
Z = np.sin(np.sqrt(X**2 + Y**2))

surf = ax.plot_surface(X, Y, Z, cmap='viridis')

ax.text(0, 0, 1, 'How2matplotlib.com', color='red', fontsize=15)
ax.text(3, 3, 0, 'X-Y Plane', color='blue', fontsize=12)
ax.text(0, 5, 0, 'Y-Axis', color='green', fontsize=12)
ax.text(5, 0, 0, 'X-Axis', color='orange', fontsize=12)

plt.show()
Output:
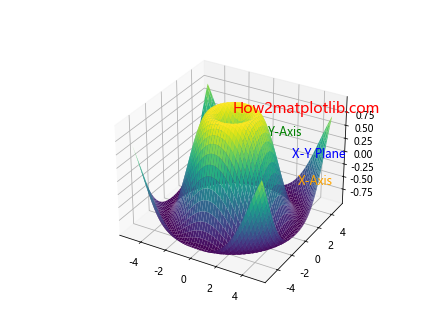
这个示例展示了如何在 3D 图表中使用不同颜色的文本来标注不同的部分,增强图表的可读性和美观性。
14. 文本颜色与极坐标图
在极坐标图中,合理使用文本颜色可以帮助突出重要信息。
import matplotlib.pyplot as plt
import numpy as np

fig, ax = plt.subplots(subplot_kw=dict(projection='polar'))
theta = np.linspace(0, 2*np.pi, 8, endpoint=False)
radii = np.random.rand(8)
colors = plt.cm.viridis(radii)

ax.bar(theta, radii, width=0.5, bottom=0.1, color=colors, alpha=0.8)

for t, r, c in zip(theta, radii, colors):
    ax.text(t, r, f'{r:.2f}', color=c, ha='center', va='center')

ax.set_title('How2matplotlib.com - Polar Plot with Colored Text')
plt.show()
Output:
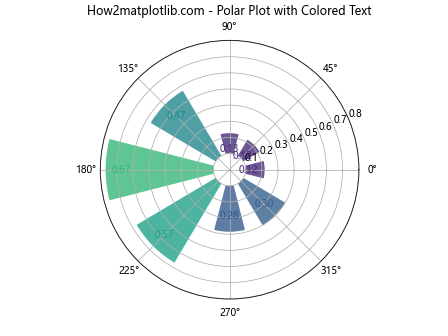
这个例子展示了如何在极坐标图中使用与数据相关的颜色来标注数值,增强数据的可视化效果。
15. 文本颜色与自定义样式
Matplotlib 允许我们创建自定义样式,包括文本颜色在内的各种属性。
import matplotlib.pyplot as plt
import matplotlib.style as style

# 创建自定义样式
style.use('default')
plt.rcParams['text.color'] = 'navy'
plt.rcParams['axes.labelcolor'] = 'darkgreen'
plt.rcParams['xtick.color'] = 'red'
plt.rcParams['ytick.color'] = 'red'

fig, ax = plt.subplots()
ax.plot([1, 2, 3, 4], [1, 4, 2, 3])
ax.set_title('How2matplotlib.com - Custom Text Colors')
ax.set_xlabel('X-axis')
ax.set_ylabel('Y-axis')
ax.text(2, 3, 'Custom Text', fontsize=12)

plt.show()
Output:
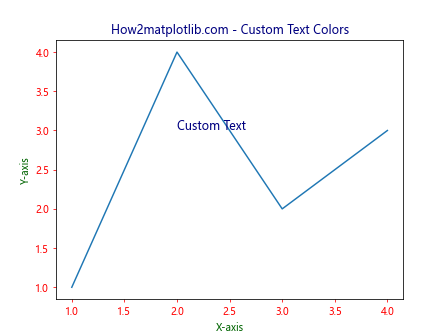
这个示例展示了如何创建一个自定义样式,为不同类型的文本(如标题、轴标签、刻度标签等)设置不同的颜色。
结论
通过本文的详细介绍和丰富的示例,我们深入探讨了 Matplotlib 中文本颜色设置的各种方法和技巧。从基本的颜色设置到高级的动画效果,从数据驱动的颜色选择到可访问性考虑,我们涵盖了文本颜色设置的方方面面。这些技巧不仅可以让您的图表更加美观,还能更有效地传达信息,提高数据可视化的质量。
在实际应用中,选择合适的文本颜色不仅是一个技术问题,也是一个设计问题。需要考虑图表的整体风格、数据的特性、以及目标受众的需求。通过灵活运用本文介绍的各种方法,您可以创造出既美观又富有信息量的数据可视化作品。
记住,优秀的数据可视化不仅仅是展示数据,更是讲述数据背后的故事。合理使用文本颜色,可以帮助您更好地讲述这个故事,让您的图表更具吸引力和说服力。继续探索和实践,您将在 Matplotlib 文本颜色设置的领域中获得更多灵感和技巧。
 极客笔记
极客笔记