Matplotlib 图例放置在图形外部的全面指南
Matplotlib 是 Python 中最流行的数据可视化库之一,它提供了丰富的功能来创建各种类型的图表和图形。在数据可视化中,图例(legend)是一个非常重要的元素,它帮助读者理解图表中不同数据系列的含义。有时,我们需要将图例放置在图形的外部,以便更好地利用图表空间或提高可读性。本文将详细介绍如何在 Matplotlib 中将图例放置在图形外部,并提供多个实用示例。
1. 为什么要将图例放在图形外部?
将图例放置在图形外部有几个主要优点:
- 节省图表空间:当图表中包含大量数据系列时,内部图例可能会占用大量空间,影响数据的展示。
- 提高可读性:外部图例可以更清晰地展示所有数据系列的信息,尤其是在数据密集的图表中。
- 美观性:适当放置的外部图例可以增加图表的整体美观性和平衡感。
- 避免遮挡:在某些情况下,内部图例可能会遮挡重要的数据点或趋势,将其放在外部可以避免这个问题。
2. 基本方法:使用 bbox_to_anchor 和 loc 参数
要将图例放置在图形外部,我们主要使用 legend() 函数的 bbox_to_anchor 和 loc 参数。bbox_to_anchor 定义了图例的位置,而 loc 定义了图例的对齐方式。
让我们看一个基本示例:
import matplotlib.pyplot as plt

# 创建数据
x = range(10)
y1 = [i**2 for i in x]
y2 = [i**3 for i in x]

# 创建图形和坐标轴
fig, ax = plt.subplots(figsize=(8, 6))

# 绘制数据
ax.plot(x, y1, label='Square - how2matplotlib.com')
ax.plot(x, y2, label='Cube - how2matplotlib.com')

# 将图例放置在图形外部
ax.legend(bbox_to_anchor=(1.05, 1), loc='upper left')

# 调整布局
plt.tight_layout()

# 显示图形
plt.show()
Output:
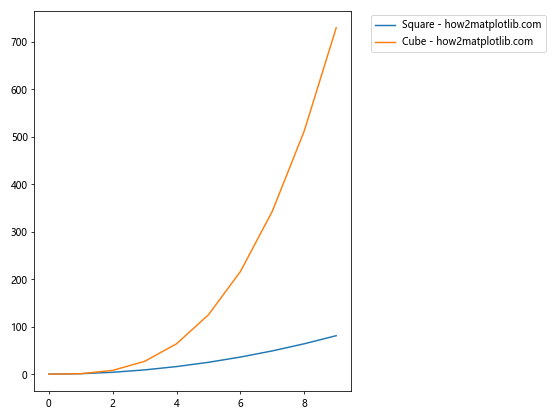
在这个示例中,我们使用 bbox_to_anchor=(1.05, 1) 将图例放置在图形的右上角外部。loc='upper left' 表示图例的左上角与 bbox_to_anchor 指定的点对齐。
3. 调整图例位置
我们可以通过调整 bbox_to_anchor 的值来改变图例的位置。以下是几个常用的位置示例:
3.1 右侧中央
import matplotlib.pyplot as plt

fig, ax = plt.subplots(figsize=(8, 6))

ax.plot(range(10), [i**2 for i in range(10)], label='Square - how2matplotlib.com')
ax.plot(range(10), [i**3 for i in range(10)], label='Cube - how2matplotlib.com')

ax.legend(bbox_to_anchor=(1.05, 0.5), loc='center left')

plt.tight_layout()
plt.show()
Output:
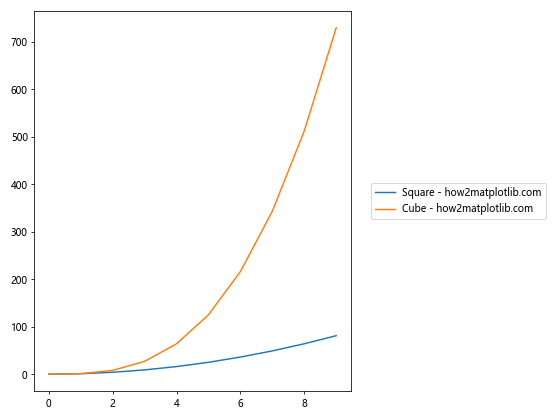
这个示例将图例放置在图形右侧的中央位置。
3.2 底部中央
import matplotlib.pyplot as plt

fig, ax = plt.subplots(figsize=(8, 6))

ax.plot(range(10), [i**2 for i in range(10)], label='Square - how2matplotlib.com')
ax.plot(range(10), [i**3 for i in range(10)], label='Cube - how2matplotlib.com')

ax.legend(bbox_to_anchor=(0.5, -0.15), loc='upper center')

plt.tight_layout()
plt.show()
Output:
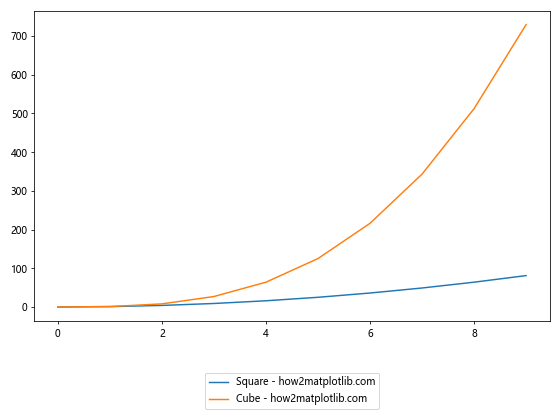
这个示例将图例放置在图形底部的中央位置。
3.3 顶部中央
import matplotlib.pyplot as plt

fig, ax = plt.subplots(figsize=(8, 6))

ax.plot(range(10), [i**2 for i in range(10)], label='Square - how2matplotlib.com')
ax.plot(range(10), [i**3 for i in range(10)], label='Cube - how2matplotlib.com')

ax.legend(bbox_to_anchor=(0.5, 1.15), loc='lower center')

plt.tight_layout()
plt.show()
Output:
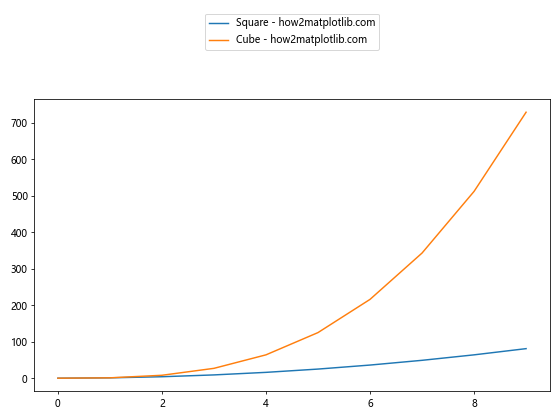
这个示例将图例放置在图形顶部的中央位置。
4. 调整图例的列数
当图例项目较多时,我们可能希望将图例分成多列显示。可以使用 ncol 参数来实现这一点:
import matplotlib.pyplot as plt

fig, ax = plt.subplots(figsize=(10, 6))

for i in range(6):
    ax.plot(range(10), [j**i for j in range(10)], label=f'y=x^{i} - how2matplotlib.com')

ax.legend(bbox_to_anchor=(0.5, -0.15), loc='upper center', ncol=3)

plt.tight_layout()
plt.show()
Output:
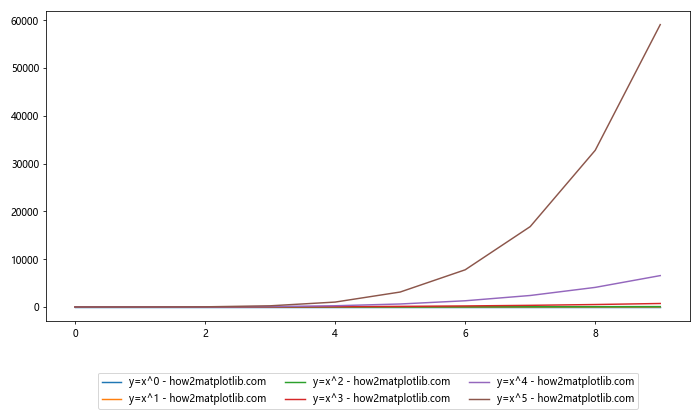
这个示例创建了6条线,并将图例分成3列显示在图形底部。
5. 自定义图例样式
我们可以通过various参数来自定义图例的样式,如边框、背景色、字体大小等。
import matplotlib.pyplot as plt

fig, ax = plt.subplots(figsize=(8, 6))

ax.plot(range(10), [i**2 for i in range(10)], label='Square - how2matplotlib.com')
ax.plot(range(10), [i**3 for i in range(10)], label='Cube - how2matplotlib.com')

ax.legend(bbox_to_anchor=(1.05, 1), loc='upper left',
          fancybox=True, shadow=True, fontsize=12,
          borderpad=1, labelspacing=1.2,
          title='Legend Title', title_fontsize=14)

plt.tight_layout()
plt.show()
Output:
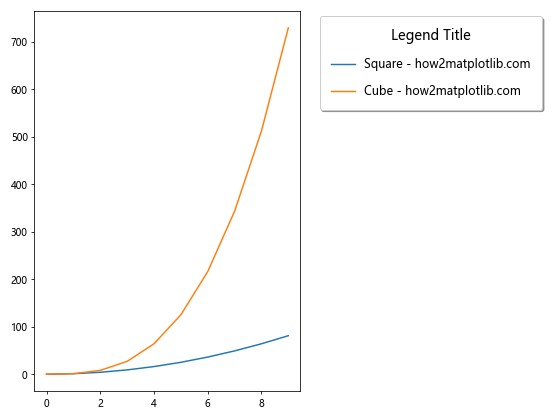
这个示例展示了如何自定义图例的样式,包括添加圆角边框、阴影、调整字体大小、边距和标题等。
6. 在多子图中使用外部图例
当我们有多个子图时,可能希望为所有子图创建一个共同的外部图例:
import matplotlib.pyplot as plt

fig, (ax1, ax2) = plt.subplots(2, 1, figsize=(8, 10))

# 第一个子图
line1, = ax1.plot(range(10), [i**2 for i in range(10)], label='Square - how2matplotlib.com')
line2, = ax1.plot(range(10), [i**3 for i in range(10)], label='Cube - how2matplotlib.com')

# 第二个子图
line3, = ax2.plot(range(10), [i**0.5 for i in range(10)], label='Square Root - how2matplotlib.com')
line4, = ax2.plot(range(10), [i**1.5 for i in range(10)], label='Power 1.5 - how2matplotlib.com')

# 创建共同的图例
fig.legend([line1, line2, line3, line4],
           [l.get_label() for l in [line1, line2, line3, line4]],
           bbox_to_anchor=(0.5, 1.05), loc='lower center', ncol=2)

plt.tight_layout()
plt.show()
Output:
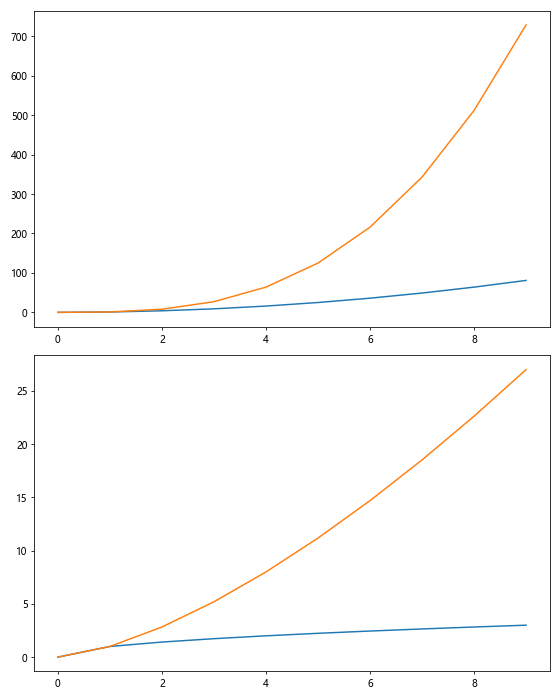
这个示例创建了两个子图,并在图形顶部为所有线条创建了一个共同的图例。
7. 使用 constrained_layout
constrained_layout 是 Matplotlib 中的一个自动布局管理器,它可以帮助我们更好地处理外部图例的位置:
import matplotlib.pyplot as plt

plt.rcParams['figure.constrained_layout.use'] = True

fig, ax = plt.subplots(figsize=(8, 6))

ax.plot(range(10), [i**2 for i in range(10)], label='Square - how2matplotlib.com')
ax.plot(range(10), [i**3 for i in range(10)], label='Cube - how2matplotlib.com')

ax.legend(bbox_to_anchor=(1.05, 1), loc='upper left')

plt.show()
Output:
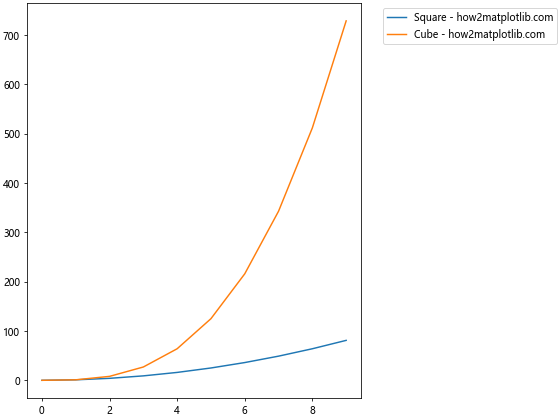
使用 constrained_layout 可以自动调整图形布局,避免图例与坐标轴重叠。
8. 创建独立的图例
有时,我们可能希望创建一个完全独立的图例,不与任何特定的坐标轴关联:
import matplotlib.pyplot as plt

fig = plt.figure(figsize=(8, 6))

# 创建主坐标轴
ax = fig.add_subplot(111)
ax.plot(range(10), [i**2 for i in range(10)])
ax.plot(range(10), [i**3 for i in range(10)])

# 创建独立的图例
legend_ax = fig.add_axes([0.9, 0.1, 0.1, 0.8])
legend_ax.axis('off')
legend_ax.legend([plt.Line2D([0], [0], color='C0'), plt.Line2D([0], [0], color='C1')],
                 ['Square - how2matplotlib.com', 'Cube - how2matplotlib.com'])

plt.tight_layout()
plt.show()
Output:
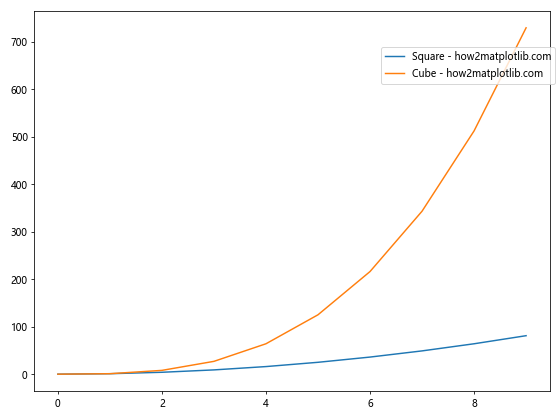
这个示例创建了一个独立的坐标轴来放置图例,使其完全分离于主图。
9. 处理重叠问题
当图例位于图形外部时,可能会与坐标轴标签或标题重叠。我们可以使用 plt.subplots_adjust() 来调整图形边距:
import matplotlib.pyplot as plt

fig, ax = plt.subplots(figsize=(8, 6))

ax.plot(range(10), [i**2 for i in range(10)], label='Square - how2matplotlib.com')
ax.plot(range(10), [i**3 for i in range(10)], label='Cube - how2matplotlib.com')

ax.legend(bbox_to_anchor=(1.05, 1), loc='upper left')

plt.subplots_adjust(right=0.75)

plt.show()
Output:
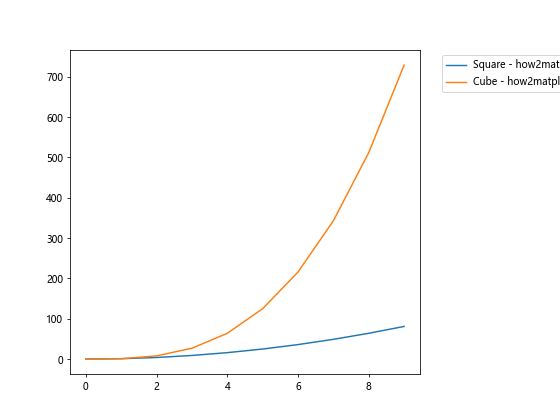
这个示例通过调整右边距来为图例腾出空间。
10. 在极坐标图中使用外部图例
极坐标图也可以使用外部图例:
import matplotlib.pyplot as plt
import numpy as np

fig, ax = plt.subplots(figsize=(8, 8), subplot_kw=dict(projection='polar'))

theta = np.linspace(0, 2*np.pi, 100)
ax.plot(theta, np.sin(theta), label='sin(θ) - how2matplotlib.com')
ax.plot(theta, np.cos(theta), label='cos(θ) - how2matplotlib.com')

ax.legend(bbox_to_anchor=(1.05, 1), loc='upper left')

plt.tight_layout()
plt.show()
Output:
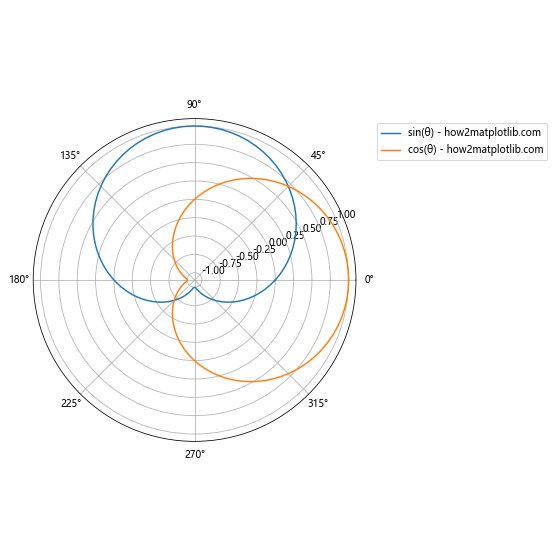
这个示例展示了如何在极坐标图中使用外部图例。
11. 使用 bbox_inches=’tight’ 保存图形
当我们将带有外部图例的图形保存为图片文件时,可能会发现图例被裁剪掉了。为了避免这种情况,我们可以使用 bbox_inches='tight' 参数:
import matplotlib.pyplot as plt

fig, ax = plt.subplots(figsize=(8, 6))

ax.plot(range(10), [i**2 for i in range(10)], label='Square - how2matplotlib.com')
ax.plot(range(10), [i**3 for i in range(10)], label='Cube - how2matplotlib.com')

ax.legend(bbox_to_anchor=(1.05, 1), loc='upper left')

plt.tight_layout()
plt.savefig('plot_with_legend.png', bbox_inches='tight')
plt.show()
Output:
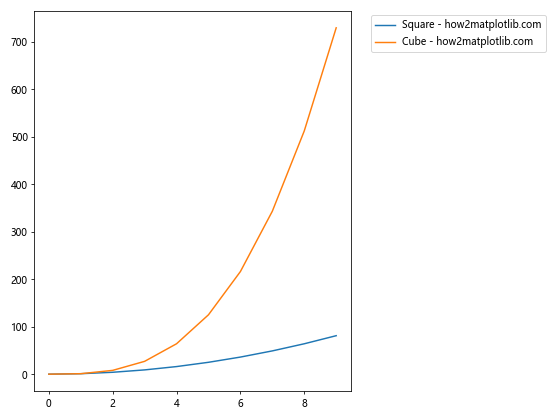
这个示例展示了如何正确保存带有外部图例的图形。
12. 使用 gridspec 进行精确布局
对于更复杂的布局需求,我们可以使用 gridspec 模块来精确控制图形和图例的位置:
import matplotlib.pyplot as plt
import matplotlib.gridspec as gridspec

fig = plt.figure(figsize=(10, 6))
gs = gridspec.GridSpec(1, 2, width_ratios=[3, 1])

ax = fig.add_subplot(gs[0])
ax.plot(range(10), [i**2 for i in range(10)], label='Square - how2matplotlib.com')
ax.plot(range(10), [i**3 for i in range(10)], label='Cube - how2matplotlib.com')

legend_ax = fig.add_subplot(gs[1])
legend_ax.axis('off')
legend_ax.legend(*ax.get_legend_handles_labels(), loc='center')

plt.tight_layout()
plt.show()
Output:
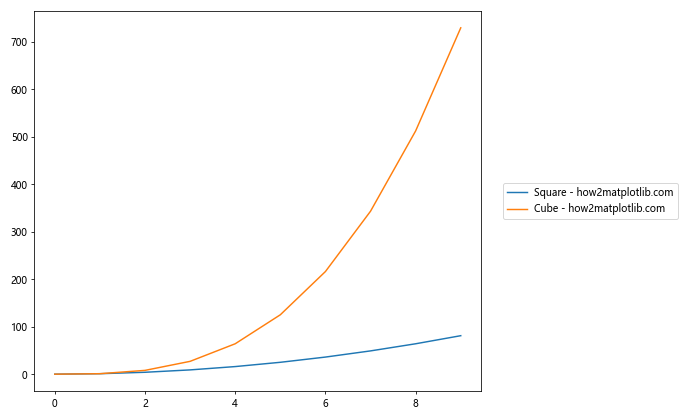
这个示例使用 gridspec 创建了一个主图和一个专门用于放置图例的区域。
13. 动态调整图例位置
有时我们可能需要根据数据动态调整图例的位置。以下是一个根据数据范围调整图例位置的示例:
import matplotlib.pyplot as plt
import numpy as np

fig, ax = plt.subplots(figsize=(8, 6))

x = np.linspace(0, 10, 100)
y1 = np.sin(x)
y2 = np.cos(x)

ax.plot(x, y1, label='sin(x) - how2matplotlib.com')
ax.plot(x, y2, label='cos(x) - how2matplotlib.com')

y_max = max(np.max(y1), np.max(y2))
y_min = min(np.min(y1), np.min(y2))

legend_y = y_min + (y_max - y_min) * 0.9

ax.legend(bbox_to_anchor=(1.05, legend_y), loc='center left')

plt.tight_layout()
plt.show()
Output:
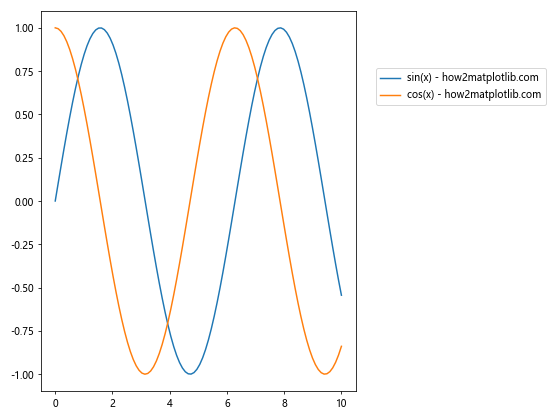
这个示例根据数据的最大值和最小值动态计算图例的垂直位置。
14. 在3D图中使用外部图例
Matplotlib 也支持在3D图中使用外部图例:
import matplotlib.pyplot as plt
import numpy as np

fig = plt.figure(figsize=(10, 8))
ax = fig.add_subplot(111, projection='3d')

x = np.linspace(-5, 5, 100)
y = np.linspace(-5, 5, 100)
X, Y = np.meshgrid(x, y)
Z1 = np.sin(np.sqrt(X**2 + Y**2))
Z2 = np.cos(np.sqrt(X**2 + Y**2))

surf1 = ax.plot_surface(X, Y, Z1, cmap='viridis', alpha=0.7)
surf2 = ax.plot_surface(X, Y, Z2, cmap='plasma', alpha=0.7)

ax.set_xlabel('X')
ax.set_ylabel('Y')
ax.set_zlabel('Z')

# 创建代理对象用于图例
proxy1 = plt.Rectangle((0, 0), 1, 1, fc='viridis')
proxy2 = plt.Rectangle((0, 0), 1, 1, fc='plasma')

ax.legend([proxy1, proxy2], ['sin(r) - how2matplotlib.com', 'cos(r) - how2matplotlib.com'],
          bbox_to_anchor=(1.05, 1), loc='upper left')

plt.tight_layout()
plt.show()
这个示例展示了如何在3D图中使用外部图例,并使用代理对象来表示surface plot。
15. 使用自定义图例
有时,我们可能需要创建自定义的图例项。以下是一个示例:
import matplotlib.pyplot as plt
import matplotlib.patches as mpatches

fig, ax = plt.subplots(figsize=(8, 6))

ax.plot(range(10), [i**2 for i in range(10)])

# 创建自定义图例项
custom_line = mpatches.Patch(facecolor='red', edgecolor='black', label='Custom Legend - how2matplotlib.com')

# 添加图例
ax.legend(handles=[custom_line], bbox_to_anchor=(1.05, 1), loc='upper left')

plt.tight_layout()
plt.show()
Output:
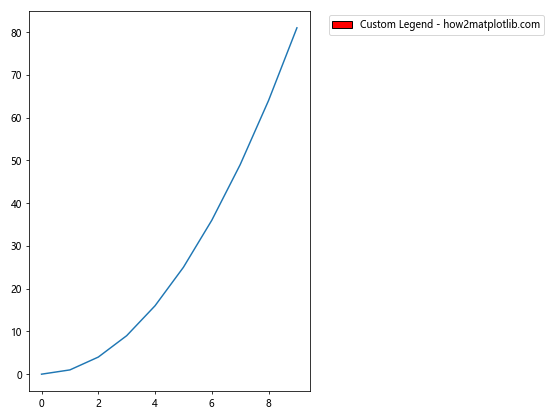
这个示例创建了一个自定义的图例项,并将其放置在图形外部。
16. 在图例中使用数学公式
Matplotlib 支持在图例中使用 LaTeX 格式的数学公式:
import matplotlib.pyplot as plt
import numpy as np

fig, ax = plt.subplots(figsize=(8, 6))

x = np.linspace(0, 2*np.pi, 100)
ax.plot(x, np.sin(x), label=r'\sin(x) - how2matplotlib.com')
ax.plot(x, np.cos(x), label=r'\cos(x) - how2matplotlib.com')

ax.legend(bbox_to_anchor=(1.05, 1), loc='upper left')

plt.tight_layout()
plt.show()
Output:
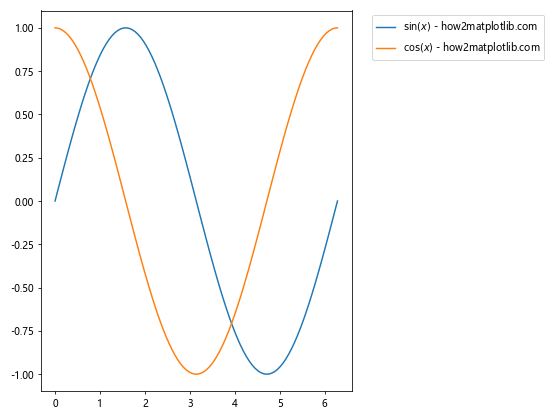
这个示例在图例中使用了 LaTeX 格式的数学公式。
17. 创建多列多行的图例
对于大量的图例项,我们可能需要创建多列多行的图例:
import matplotlib.pyplot as plt
import numpy as np

fig, ax = plt.subplots(figsize=(10, 8))

for i in range(12):
    ax.plot(np.random.rand(10), label=f'Series {i+1} - how2matplotlib.com')

ax.legend(bbox_to_anchor=(1.05, 1), loc='upper left', ncol=2)

plt.tight_layout()
plt.show()
Output:
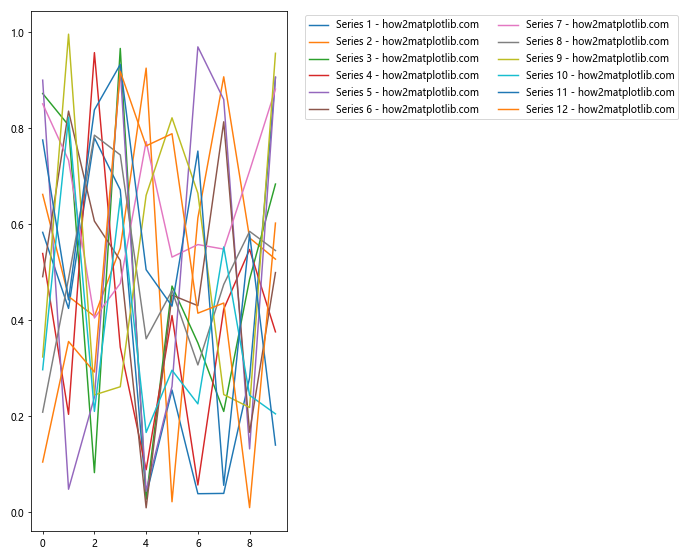
这个示例创建了12个数据系列,并将它们的图例排列成2列。
18. 在图例中使用自定义标记
我们可以在图例中使用自定义的标记:
import matplotlib.pyplot as plt
import numpy as np

fig, ax = plt.subplots(figsize=(8, 6))

x = np.linspace(0, 10, 100)
ax.plot(x, np.sin(x), 'o-', label='sin(x) - how2matplotlib.com')
ax.plot(x, np.cos(x), 's--', label='cos(x) - how2matplotlib.com')

ax.legend(bbox_to_anchor=(1.05, 1), loc='upper left',
          numpoints=1, markerfirst=False)

plt.tight_layout()
plt.show()
Output:
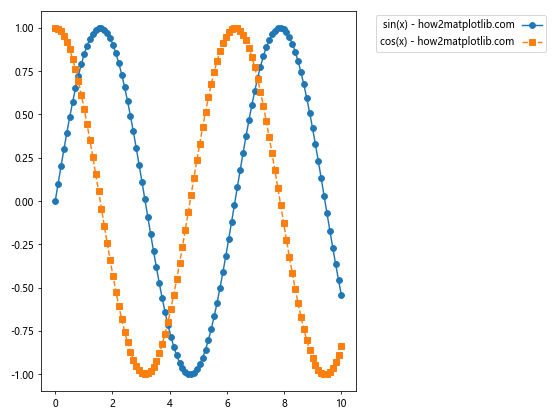
这个示例在图例中使用了自定义的标记和线型。
19. 在图例中使用颜色条
对于使用颜色映射的图,我们可能希望在图例中包含颜色条:
import matplotlib.pyplot as plt
import numpy as np
from mpl_toolkits.axes_grid1 import make_axes_locatable

fig, ax = plt.subplots(figsize=(8, 6))

x = np.linspace(0, 10, 100)
y = np.linspace(0, 10, 100)
X, Y = np.meshgrid(x, y)
Z = np.sin(X) * np.cos(Y)

im = ax.imshow(Z, cmap='viridis', extent=[0, 10, 0, 10])

divider = make_axes_locatable(ax)
cax = divider.append_axes("right", size="5%", pad=0.1)
cbar = plt.colorbar(im, cax=cax)
cbar.set_label('Value - how2matplotlib.com')

ax.set_title('2D Plot with Colorbar Legend')

plt.tight_layout()
plt.show()
Output:
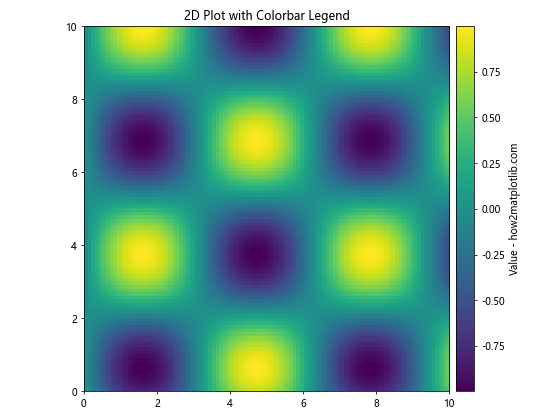
这个示例创建了一个2D图,并在右侧添加了一个颜色条作为图例。
20. 使用图例分组
当我们有多个相关的数据系列时,可以使用图例分组来组织它们:
import matplotlib.pyplot as plt
import numpy as np

fig, ax = plt.subplots(figsize=(10, 6))

x = np.linspace(0, 10, 100)

# 组1
ax.plot(x, np.sin(x), 'r-', label='sin(x)')
ax.plot(x, np.sin(2*x), 'r--', label='sin(2x)')

# 组2
ax.plot(x, np.cos(x), 'b-', label='cos(x)')
ax.plot(x, np.cos(2*x), 'b--', label='cos(2x)')

# 创建图例
legend1 = ax.legend(loc='upper right', title='Sine Functions')
ax.add_artist(legend1)
ax.legend(loc='upper left', title='Cosine Functions')

# 添加一个总标题
fig.suptitle('Trigonometric Functions - how2matplotlib.com', fontsize=16)

plt.tight_layout()
plt.show()
Output:
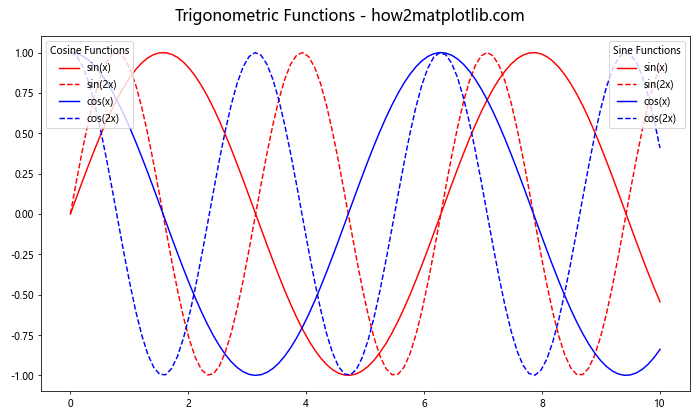
这个示例创建了两组相关的函数,并使用两个独立的图例来组织它们。
总结起来,Matplotlib 提供了丰富的选项来将图例放置在图形外部,并进行各种自定义。通过调整位置、样式和布局,我们可以创建既美观又信息丰富的图表。在实际应用中,选择合适的图例位置和样式可以大大提高图表的可读性和专业性。希望这篇详细的指南能够帮助你更好地掌握 Matplotlib 中图例的使用技巧。
 极客笔记
极客笔记