Matplotlib中Artist对象属性的全面探索:使用properties()方法
参考:Matplotlib.artist.Artist.properties() in Python
Matplotlib是Python中最流行的数据可视化库之一,它提供了丰富的绘图功能和灵活的自定义选项。在Matplotlib的架构中,Artist对象扮演着核心角色,负责绘制图形的各个元素。而Artist对象的属性则决定了这些元素的外观和行为。本文将深入探讨Matplotlib中Artist对象的properties()方法,这是一个强大的工具,可以帮助我们全面了解和操作Artist对象的属性。
1. Artist对象简介
在Matplotlib中,几乎所有可见的元素都是Artist对象。这包括Figure、Axes以及线条、文本、标记等具体的绘图元素。Artist对象负责将数据转换为可视化的图形表示,并控制这些图形元素的外观。
让我们从一个简单的例子开始,创建一个基本的图形并查看其属性:
import matplotlib.pyplot as plt

fig, ax = plt.subplots()
line, = ax.plot([1, 2, 3, 4], [1, 4, 2, 3], label='Data from how2matplotlib.com')
ax.set_title('Simple Plot')

print(line.properties())
plt.show()
Output:
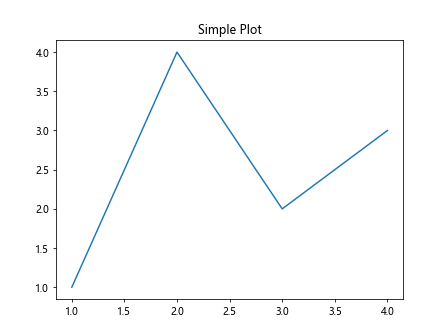
在这个例子中,我们创建了一个简单的线图,并使用properties()方法打印出Line2D对象的所有属性。这将输出一个包含所有可用属性及其当前值的字典。
2. properties()方法的作用
properties()方法是Artist类的一个重要方法,它返回一个包含所有可设置属性及其当前值的字典。这个方法的主要作用包括:
- 查看当前对象的所有可设置属性
- 检查属性的当前值
- 为批量修改属性提供参考
- 帮助理解和调试复杂的图形设置
让我们看一个更详细的例子,展示如何使用properties()方法来查看和修改文本对象的属性:
import matplotlib.pyplot as plt

fig, ax = plt.subplots()
text = ax.text(0.5, 0.5, 'Text from how2matplotlib.com', ha='center', va='center')

print("Original properties:")
print(text.properties())

text.set_fontsize(16)
text.set_color('red')

print("\nUpdated properties:")
print(text.properties())

plt.show()
Output:
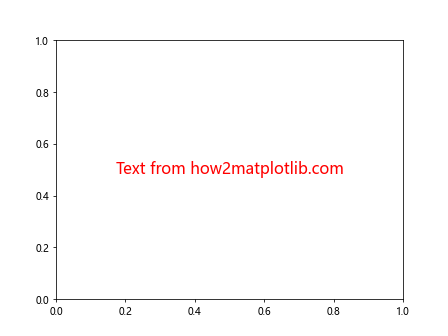
在这个例子中,我们首先创建了一个文本对象,然后打印其初始属性。接着,我们修改了字体大小和颜色,并再次打印属性以查看变化。
3. 常见Artist对象及其属性
Matplotlib中有多种类型的Artist对象,每种都有其特定的属性。以下是一些常见的Artist对象及其重要属性:
3.1 Figure
Figure是整个图形的容器,包含所有的绘图元素。
import matplotlib.pyplot as plt

fig = plt.figure(figsize=(8, 6), facecolor='lightblue')
print(fig.properties())

plt.text(0.5, 0.5, 'Figure properties from how2matplotlib.com',
         ha='center', va='center', transform=fig.transFigure)
plt.show()
Output:
这个例子创建了一个自定义大小和背景色的Figure对象,并打印其属性。
3.2 Axes
Axes是实际的绘图区域,包含数据的可视化。
import matplotlib.pyplot as plt

fig, ax = plt.subplots()
ax.set_title('Axes from how2matplotlib.com')
ax.set_xlabel('X-axis')
ax.set_ylabel('Y-axis')

print(ax.properties())
plt.show()
Output:
这个例子创建了一个Axes对象,设置了标题和轴标签,然后打印其属性。
3.3 Line2D
Line2D对象用于绘制线条。
import matplotlib.pyplot as plt

fig, ax = plt.subplots()
line, = ax.plot([1, 2, 3, 4], [1, 4, 2, 3], linewidth=2, color='red',
                 linestyle='--', marker='o', label='Data from how2matplotlib.com')

print(line.properties())
plt.legend()
plt.show()
Output:
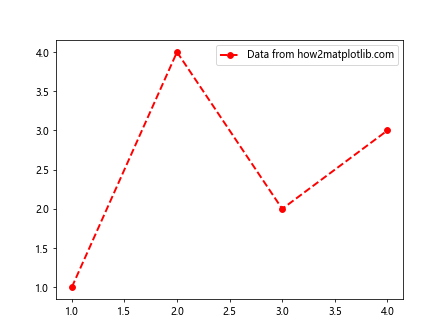
这个例子创建了一个自定义样式的线条,并打印其属性。
3.4 Text
Text对象用于在图形中添加文本。
import matplotlib.pyplot as plt

fig, ax = plt.subplots()
text = ax.text(0.5, 0.5, 'Text properties\nfrom how2matplotlib.com',
               ha='center', va='center', fontsize=14, fontweight='bold',
               color='blue', rotation=15)

print(text.properties())
plt.show()
Output:
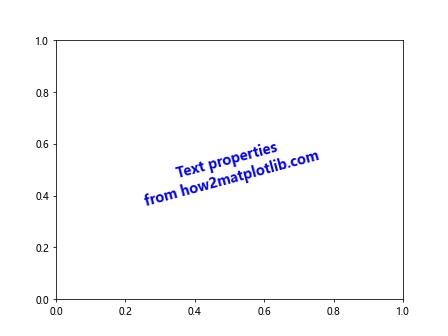
这个例子创建了一个具有多种样式的文本对象,并打印其属性。
4. 使用properties()进行属性查询和修改
properties()方法不仅可以用于查看属性,还可以帮助我们进行属性的批量修改。以下是一些实用的技巧:
4.1 查询特定属性
import matplotlib.pyplot as plt

fig, ax = plt.subplots()
line, = ax.plot([1, 2, 3, 4], [1, 4, 2, 3], label='Data from how2matplotlib.com')

props = line.properties()
print(f"Line color: {props['color']}")
print(f"Line style: {props['linestyle']}")
print(f"Line width: {props['linewidth']}")

plt.show()
Output:
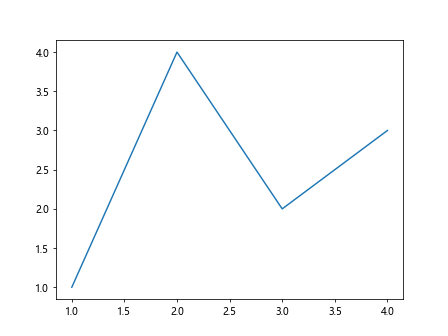
这个例子展示了如何查询Line2D对象的特定属性。
4.2 批量修改属性
import matplotlib.pyplot as plt

fig, ax = plt.subplots()
line, = ax.plot([1, 2, 3, 4], [1, 4, 2, 3], label='Original')

new_props = {
    'color': 'red',
    'linestyle': '--',
    'linewidth': 2,
    'marker': 'o',
    'markersize': 8,
    'label': 'Updated data from how2matplotlib.com'
}

line.set(**new_props)

print(line.properties())
plt.legend()
plt.show()
Output:
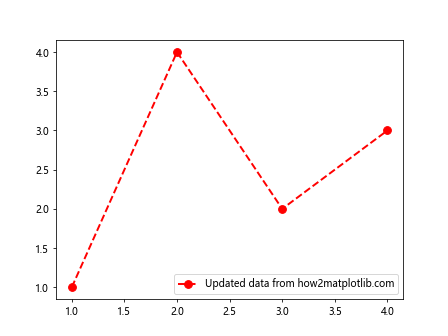
这个例子展示了如何使用字典批量更新Line2D对象的多个属性。
5. 高级应用:自定义Artist对象
了解properties()方法对于创建自定义Artist对象非常有帮助。以下是一个创建自定义Artist的例子:
import matplotlib.pyplot as plt
from matplotlib.patches import Circle
from matplotlib.artist import Artist

class CustomCircle(Artist):
    def __init__(self, xy, radius):
        super().__init__()
        self.circle = Circle(xy, radius)
        self._radius = radius

    def draw(self, renderer):
        self.circle.draw(renderer)

    @property
    def radius(self):
        return self._radius

    @radius.setter
    def radius(self, value):
        self._radius = value
        self.circle.set_radius(value)

fig, ax = plt.subplots()
custom_circle = CustomCircle((0.5, 0.5), 0.2)
ax.add_artist(custom_circle)

print("Custom Circle properties:")
print(custom_circle.properties())

ax.set_title('Custom Circle from how2matplotlib.com')
plt.show()
Output:
这个例子创建了一个自定义的Circle Artist,并展示了如何使用properties()方法查看其属性。
6. 属性继承和覆盖
在Matplotlib中,Artist对象的属性通常遵循继承原则。子类可以继承父类的属性,也可以覆盖或添加新的属性。了解这一点对于理解复杂图形的属性设置非常重要。
import matplotlib.pyplot as plt
from matplotlib.lines import Line2D

class CustomLine(Line2D):
    def __init__(self, *args, **kwargs):
        super().__init__(*args, **kwargs)
        self.custom_property = None

    def set_custom_property(self, value):
        self.custom_property = value

fig, ax = plt.subplots()
custom_line = CustomLine([0, 1], [0, 1], linewidth=2, color='blue')
custom_line.set_custom_property('Value from how2matplotlib.com')

ax.add_line(custom_line)

print("Custom Line properties:")
print(custom_line.properties())

ax.set_title('Custom Line with Inherited and New Properties')
plt.show()
Output:
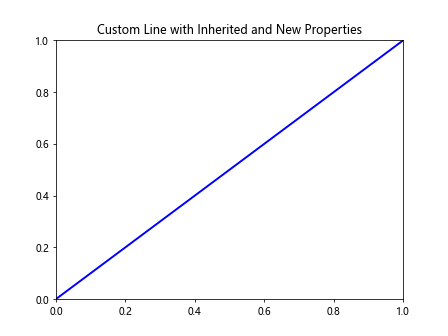
这个例子展示了如何创建一个继承自Line2D的自定义线条对象,并添加新的属性。
7. 动态属性修改
properties()方法还可以用于实现动态属性修改,这在创建交互式图形或动画时特别有用。
import matplotlib.pyplot as plt
import numpy as np

fig, ax = plt.subplots()
line, = ax.plot(np.random.rand(100), label='Random data from how2matplotlib.com')

def update_line(frame):
    line.set_ydata(np.random.rand(100))
    props = line.properties()
    line.set_color(np.random.rand(3,))
    return line,

ani = plt.animation.FuncAnimation(fig, update_line, frames=50, interval=200, blit=True)
plt.show()
这个例子创建了一个简单的动画,每帧都会更新线条的数据和颜色。
8. 属性的保存和加载
properties()方法返回的字典可以很容易地保存到文件中,这对于保存和恢复图形设置非常有用。
import matplotlib.pyplot as plt
import json

# 创建和设置图形
fig, ax = plt.subplots()
line, = ax.plot([1, 2, 3, 4], [1, 4, 2, 3], color='red', linewidth=2,
                 linestyle='--', marker='o', label='Data from how2matplotlib.com')

# 保存属性
props = line.properties()
with open('line_properties.json', 'w') as f:
    json.dump(props, f)

# 加载属性并应用
with open('line_properties.json', 'r') as f:
    loaded_props = json.load(f)

new_line, = ax.plot([1, 2, 3, 4], [3, 1, 4, 2])
new_line.update(loaded_props)

plt.legend()
plt.show()
这个例子展示了如何保存Line2D对象的属性到JSON文件,然后加载并应用到新的线条上。
9. 属性的比较和差异分析
properties()方法还可以用于比较不同Artist对象的属性,这在调试和优化图形时非常有用。
import matplotlib.pyplot as plt

fig, (ax1, ax2) = plt.subplots(1, 2, figsize=(10, 4))

line1, = ax1.plot([1, 2, 3, 4], [1, 4, 2, 3], color='red', linewidth=2,
                   label='Line 1 from how2matplotlib.com')
line2, = ax2.plot([1, 2, 3, 4], [3, 1, 4, 2], color='blue', linestyle='--',
                   label='Line 2 from how2matplotlib.com')

props1 = line1.properties()
props2 = line2.properties()

print("Differences in properties:")
for key in props1.keys():
    if props1[key] != props2[key]:
        print(f"{key}: {props1[key]} vs {props2[key]}")

plt.tight_layout()
plt.show()
这个例子比较了两个不同Line2D对象的属性,并打印出它们之间的差异。
10. 使用properties()进行调试
在复杂的图形中,properties()方法可以成为强大的调试工具。它可以帮助我们快速定位属性设置问题。
import matplotlib.pyplot as plt

def create_plot():
    fig, ax = plt.subplots()
    line, = ax.plot([1, 2, 3, 4], [1, 4, 2, 3], label='Data from how2matplotlib.com')
    ax.set_title('Debug Plot')
    return fig, ax, line

def debug_artist(artist):
    props = artist.properties()
    print(f"Debugging {type(artist).__name__}:")
    for key, value in props.items():
        print(f"  {key}: {value}")

fig, ax, line = create_plot()

debug_artist(fig)
debug_artist(ax)
debug_artist(line)

plt.show()
Output:
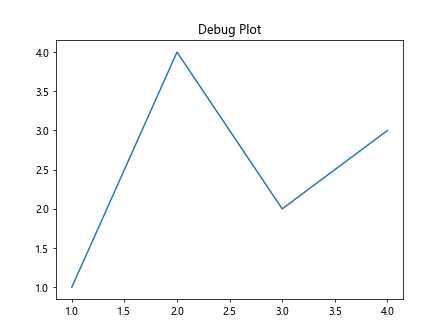
这个例子创建了一个简单的调试函数,可以打印出任何Artist对象的所有属性,有助于快速检查和诊断问题。
结论
Matplotlib的Artist.properties()方法是一个强大而灵活的工具,它为我们提供了深入了解和操作图形元素的途径。通过本文的探讨,我们不仅学会了如何查看和修改Artist对象的属性,还了解了如何利用这个方法进行高级的图形定制、动态修改、属性保存和加载,以及调试。掌握properties()方法的使用,将极大地提升我们使用Matplotlib创建复杂和精确图形的能力。无论是进行数据可视化、科学绘图,还是创建交互式图形应用,properties()方法都是一个不可或缺的工具。
 极客笔记
极客笔记