如何在matplotlib中使用ax.errorbar函数绘制误差棒图
参考:ax errorbar
在matplotlib中,我们经常会用到errorbar来显示数据的误差范围。在使用errorbar时,我们可以通过ax.errorbar()函数来绘制误差棒图。本文将详细介绍如何在matplotlib中使用ax.errorbar函数绘制误差棒图。
简介
在数据可视化中,误差棒图是一种常用的展示数据的方法。误差棒图可以帮助我们更直观地了解数据点的误差范围,从而更全面地分析数据的准确性和可靠性。在matplotlib中,我们可以使用ax.errorbar()函数来绘制误差棒图。该函数接受一系列参数来设置误差棒图的样式和数据。接下来,我们将通过示例代码来具体介绍如何使用ax.errorbar()函数。
示例代码
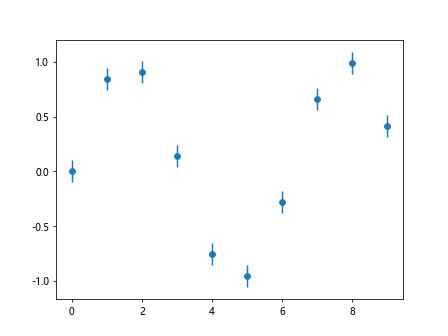
示例1:绘制简单的误差棒图
import matplotlib.pyplot as plt
import numpy as np

x = np.arange(10)
y = np.sin(x)
yerr = 0.1

fig, ax = plt.subplots()
ax.errorbar(x, y, yerr=yerr, fmt='o')
plt.show()
Output:
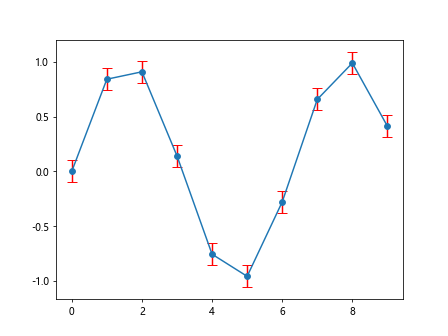
示例2:修改误差棒的颜色和线型
import matplotlib.pyplot as plt
import numpy as np

x = np.arange(10)
y = np.sin(x)
yerr = 0.1

fig, ax = plt.subplots()
ax.errorbar(x, y, yerr=yerr, fmt='-o', ecolor='red', capsize=5)
plt.show()
Output:
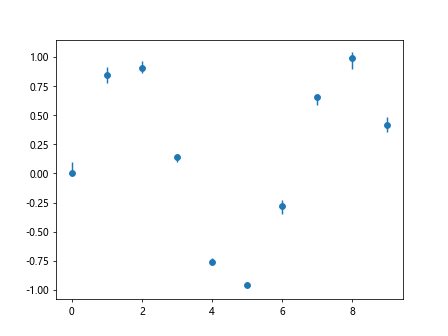
示例3:绘制不对称误差棒
import matplotlib.pyplot as plt
import numpy as np

x = np.arange(10)
y = np.sin(x)
yerr = np.random.rand(2, 10) * 0.1

fig, ax = plt.subplots()
ax.errorbar(x, y, yerr=yerr, fmt='o')
plt.show()
Output:
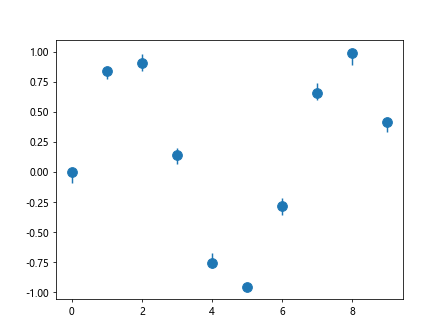
示例4:调整误差棒的大小
import matplotlib.pyplot as plt
import numpy as np

x = np.arange(10)
y = np.sin(x)
yerr = np.random.rand(2, 10) * 0.1

fig, ax = plt.subplots()
ax.errorbar(x, y, yerr=yerr, fmt='o', markersize=10)
plt.show()
Output:
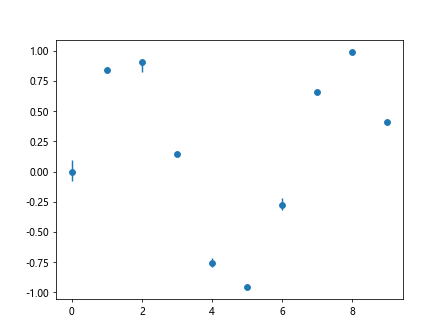
示例5:隐藏误差棒的数据点
import matplotlib.pyplot as plt
import numpy as np

x = np.arange(10)
y = np.sin(x)
yerr = np.random.rand(2, 10) * 0.1

fig, ax = plt.subplots()
ax.errorbar(x, y, yerr=yerr, fmt=' ', errorevery=2, marker='o')
plt.show()
Output:
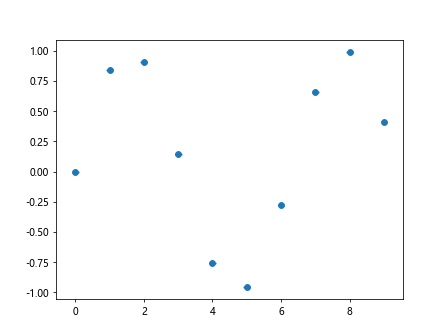
示例6:绘制水平误差棒
import matplotlib.pyplot as plt
import numpy as np

x = np.arange(10)
y = np.sin(x)
xerr = 0.1

fig, ax = plt.subplots()
ax.errorbar(x, y, xerr=xerr, fmt='o')
plt.show()
Output:
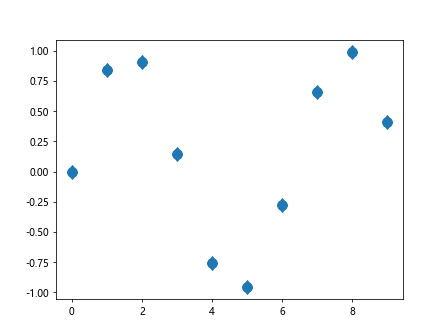
示例7:自定义误差棒的样式
import matplotlib.pyplot as plt
import numpy as np

x = np.arange(10)
y = np.sin(x)
yerr = np.random.rand(2, 10) * 0.1

fig, ax = plt.subplots()
ax.errorbar(x, y, yerr=yerr, fmt='o', markersize=10, capsize=5, elinewidth=2, uplims=True, lolims=True)
plt.show()
Output:
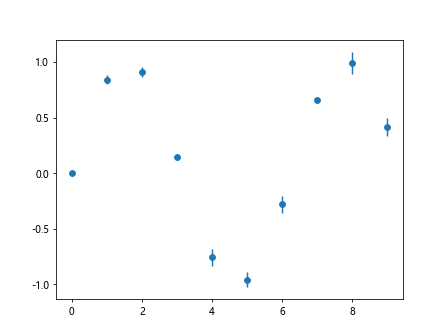
示例8:使用单个误差值绘制误差棒
import matplotlib.pyplot as plt
import numpy as np

x = np.arange(10)
y = np.sin(x)
yerr = np.random.rand(10) * 0.1

fig, ax = plt.subplots()
ax.errorbar(x, y, yerr=yerr, fmt='o')
plt.show()
Output:
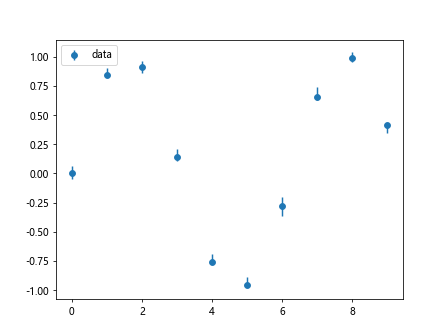
示例9:绘制带有标签的误差棒
import matplotlib.pyplot as plt
import numpy as np

x = np.arange(10)
y = np.sin(x)
yerr = np.random.rand(2, 10) * 0.1

fig, ax = plt.subplots()
ax.errorbar(x, y, yerr=yerr, fmt='o', label='data')
ax.legend()
plt.show()
Output:
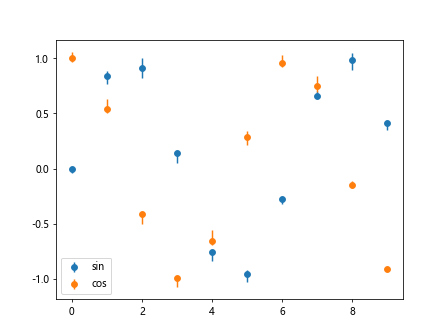
示例10:绘制多组误差棒图
import matplotlib.pyplot as plt
import numpy as np

x = np.arange(10)
y1 = np.sin(x)
y2 = np.cos(x)
yerr1 = np.random.rand(2, 10) * 0.1
yerr2 = np.random.rand(2, 10) * 0.1

fig, ax = plt.subplots()
ax.errorbar(x, y1, yerr=yerr1, fmt='o', label='sin')
ax.errorbar(x, y2, yerr=yerr2, fmt='o', label='cos')
ax.legend()
plt.show()
Output:
结论
通过本文的介绍,我们了解了如何在matplotlib中使用ax.errorbar()函数来绘制误差棒图。我们可以通过设置不同的参数来调整误差棒的样式、大小和位置,使得误差棒图更符合我们的展示需求。
 极客笔记
极客笔记