Matplotlib 修改gluonts创建的图的图例颜色
问题描述
我正在使用 gluonts 并绘制一个预测(代码来自 DeepVaR笔记本 )。 代码如下:
def plot_prob_forecasts(ts_entry, forecast_entry, asset_name, plot_length=20):
    prediction_intervals = (0.95, 0.99)
    legend = ["observations", "median prediction"] + [f"{k}% prediction interval" for k in prediction_intervals][::-1]
    fig, ax = plt.subplots(1, 1, figsize=(10, 7))
    ts_entry[-plot_length:].plot(ax=ax)  # plot the time series
    forecast_entry.plot( intervals=prediction_intervals, color='g')
    plt.grid(which="both")
    plt.legend(legend, loc="upper left")
    plt.title(f'Forecast of {asset_name} series Returns')
    plt.show()
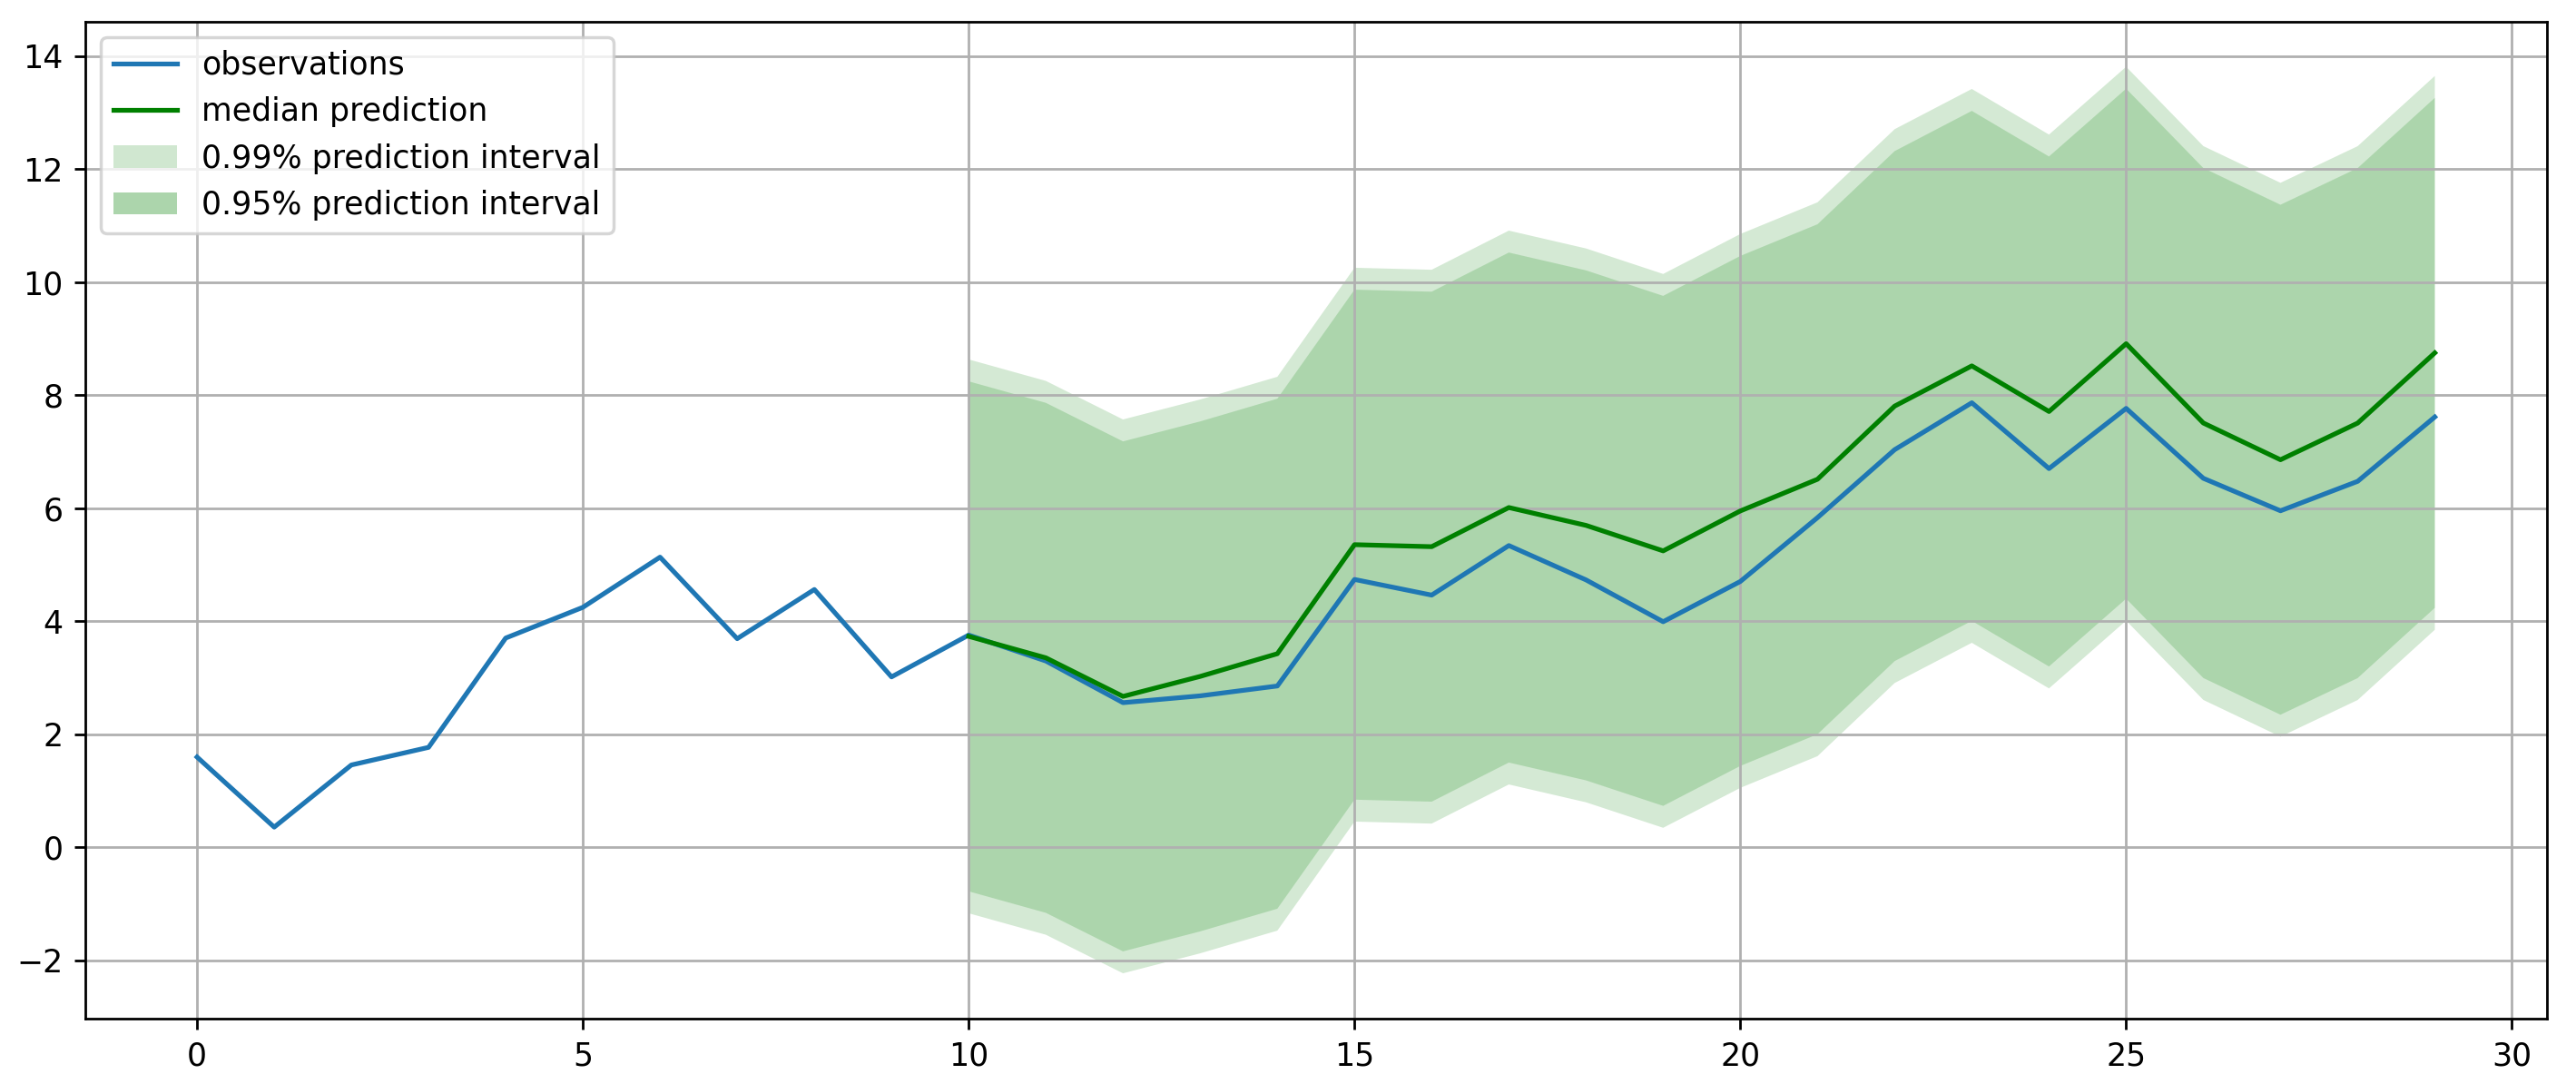
并生成以下图形:

图例中置信区间的颜色不正确,但我无法弄清楚如何修复它们。 调用 plt.gca().get_legend_handles_labels() 只返回第一行(观测值)。在调用 legend() 之前或之后具有相同的输出。 gluonts的代码是:
    def plot(
        self,
        *,
        intervals=(0.5, 0.9),
        ax=None,
        color=None,
        name=None,
        show_label=False,
    ):
        """
        Plot median forecast and prediction intervals using ``matplotlib``.

        By default the `0.5` and `0.9` prediction intervals are plotted. Other
        intervals can be choosen by setting `intervals`.

        This plots to the current axes object (via ``plt.gca()``), or to ``ax``
        if provided. Similarly, the color is using matplotlibs internal color
        cycle, if no explicit ``color`` is set.

        One can set ``name`` to use it as the ``label`` for the median
        forecast. Intervals are not labeled, unless ``show_label`` is set to
        ``True``.
        """
        import matplotlib.pyplot as plt

        # Get current axes (gca), if not provided explicitly.
        ax = maybe.unwrap_or_else(ax, plt.gca)

        # If no color is provided, we use matplotlib's internal color cycle.
        # Note: This is an internal API and might change in the future.
        color = maybe.unwrap_or_else(
            color, lambda: ax._get_lines.get_next_color()
        )

        # Plot median forecast
        ax.plot(
            self.index.to_timestamp(),
            self.quantile(0.5),
            color=color,
            label=name,
        )

        # Plot prediction intervals
        for interval in intervals:
            if show_label:
                if name is not None:
                    label = f"{name}: {interval}"
                else:
                    label = interval
            else:
                label = None

            # Translate interval to low and high values. E.g for `0.9` we get
            # `low = 0.05` and `high = 0.95`. (`interval + low + high == 1.0`)
            # Also, higher interval values mean lower confidence, and thus we
            # we use lower alpha values for them.
            low = (1 - interval) / 2
            ax.fill_between(
                # TODO: `index` currently uses `pandas.Period`, but we need
                # to pass a timestamp value to matplotlib. In the future this
                # will use ``zebras.Periods`` and thus needs to be adapted.
                self.index.to_timestamp(),
                self.quantile(low),
                self.quantile(1 - low),
                # Clamp alpha betwen ~16% and 50%.
                alpha=0.5 - interval / 3,
                facecolor=color,
                label=label,
            )
如果我设置color=None,我会从matplotlib得到一个错误。设置show_label=True并传递名称也不起作用。有什么办法可以解决吗?
python=3.9.18
matplotlib=3.8.0
gluonts=0.13.2
解决方案
plt.legend通常使用在图中遇到的“标记”matplotlib元素。在这种情况下,深绿色区域由两个叠加的半透明层组成。默认行为只会分别显示半透明层。您可以使用句柄的元组来将其一个覆盖在另一个之上。
下面是一些简化的独立代码,用来模拟您的情况。
import matplotlib.pyplot as plt
import numpy as np

# create some dummy test data
x = np.arange(30)
y = np.random.normal(0.1, 1, size=x.size).cumsum()

fig, ax = plt.subplots(1, 1, figsize=(10, 7))

# simulate plotting the observations
ax.plot(x, y)

prediction_intervals = (0.95, 0.99)
legend = ["observations", "median prediction"] + [f"{k}% prediction interval" for k in prediction_intervals][::-1]
color = 'g'

xp = np.arange(10, 30)
yp = y[-xp.size:] + np.random.normal(0.03, 0.2, size=xp.size).cumsum()
# simulate plotting median forecast
ax.plot(xp, yp, color=color, label=None)

# simulate plotting the prediction intervals
for interval in prediction_intervals:
    ax.fill_between(xp, yp - interval ** 2 * 5, yp + interval ** 2 * 5,
                    alpha=0.5 - interval / 3,
                    facecolor=color,
                    label=None)

# the matplotlib elements for the two curves
handle_l1, handle_l2 = ax.lines[:2]
# the matplotlib elements for the two filled areas
handle_c1, handle_c2 = ax.collections[:2]

ax.legend(handles=[handle_l1, handle_l2, handle_c1, (handle_c1, handle_c2)],
          labels=legend, loc="upper left")
ax.grid(which="both")

plt.tight_layout()
plt.show()

 极客笔记
极客笔记