Matplotlib中的Axes.add_callback()方法:动态更新图表的强大工具
参考:Matplotlib.axes.Axes.add_callback() in Python
Matplotlib是Python中最流行的数据可视化库之一,它提供了丰富的绘图功能和灵活的自定义选项。在Matplotlib的众多功能中,Axes.add_callback()方法是一个非常有用但可能被忽视的工具。这个方法允许我们为Axes对象添加回调函数,使得我们可以在图表发生变化时自动执行特定的操作。本文将深入探讨Axes.add_callback()方法的使用,并通过多个示例来展示它的强大功能。
1. Axes.add_callback()方法简介
Axes.add_callback()方法是Matplotlib库中Axes类的一个重要方法。它允许用户为Axes对象注册一个回调函数,这个函数会在Axes对象的某些属性发生变化时自动被调用。这为创建动态和交互式图表提供了强大的支持。
1.1 方法签名
Axes.add_callback(func)
其中,func是一个回调函数,它应该接受一个参数(通常命名为ax),这个参数就是发生变化的Axes对象本身。
1.2 基本用法示例
让我们从一个简单的例子开始,了解add_callback()方法的基本用法:
import matplotlib.pyplot as plt

def on_axes_change(ax):
    print("Axes properties changed on how2matplotlib.com")

fig, ax = plt.subplots()
ax.plot([1, 2, 3, 4], [1, 4, 2, 3])
ax.set_title("how2matplotlib.com Example")

callback_id = ax.add_callback(on_axes_change)

ax.set_xlim(0, 5)  # This will trigger the callback
plt.show()
Output:
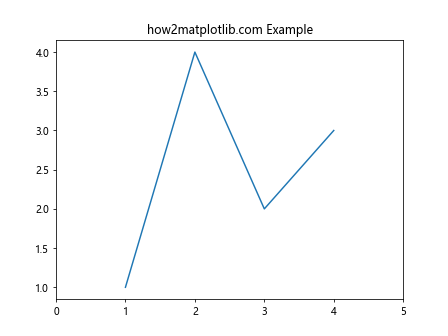
在这个例子中,我们定义了一个简单的回调函数on_axes_change,它只是打印一条消息。然后,我们创建了一个图表,并使用add_callback()方法将这个函数添加为回调。当我们调用ax.set_xlim()来改变x轴的范围时,回调函数会被自动触发。
2. 回调函数的触发机制
理解回调函数的触发机制对于有效使用add_callback()方法至关重要。回调函数会在Axes对象的许多属性发生变化时被触发,包括但不限于:
- 坐标轴范围的变化(如使用
set_xlim()或set_ylim()) - 标题或标签的更改(如使用
set_title()或set_xlabel()) - 添加或移除图形元素(如使用
plot()或clear())
2.1 多种触发方式示例
让我们通过一个更复杂的例子来展示不同的触发方式:
import matplotlib.pyplot as plt

def verbose_callback(ax):
    print(f"Callback triggered for {ax} on how2matplotlib.com")

fig, ax = plt.subplots()
ax.add_callback(verbose_callback)

# Trigger 1: Adding a plot
ax.plot([1, 2, 3], [1, 2, 3], label="how2matplotlib.com data")

# Trigger 2: Changing axis limits
ax.set_xlim(0, 4)

# Trigger 3: Setting a title
ax.set_title("how2matplotlib.com Dynamic Plot")

# Trigger 4: Adding a legend
ax.legend()

plt.show()
Output:
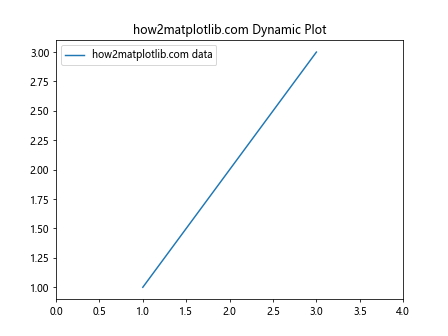
在这个例子中,回调函数会被触发四次,分别对应四种不同的操作。这展示了add_callback()方法的灵活性和广泛的应用场景。
3. 使用回调函数更新图表
add_callback()方法的一个常见用途是动态更新图表的某些部分。例如,我们可以使用回调函数来更新图表的标题,以反映当前的坐标轴范围。
3.1 动态更新标题示例
import matplotlib.pyplot as plt

def update_title(ax):
    xlim = ax.get_xlim()
    ylim = ax.get_ylim()
    ax.set_title(f"X range: {xlim}, Y range: {ylim}\nhow2matplotlib.com")

fig, ax = plt.subplots()
ax.plot([1, 2, 3, 4], [1, 4, 2, 3])
ax.add_callback(update_title)

# Initial update
update_title(ax)

# Enable interactive mode
plt.ion()
plt.show()

# You can now interactively zoom and pan, and the title will update
Output:
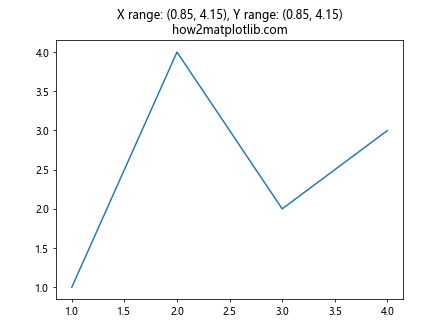
在这个例子中,每当坐标轴范围发生变化(例如通过缩放或平移),标题就会自动更新以显示新的范围。这种动态更新可以为用户提供实时的数据范围信息。
4. 在回调函数中添加新的图形元素
回调函数不仅可以用来更新现有的图形元素,还可以用来添加新的元素。这为创建复杂的动态图表提供了可能。
4.1 动态添加注释示例
import matplotlib.pyplot as plt
import numpy as np

def add_mean_line(ax):
    lines = ax.get_lines()
    if lines:
        ydata = lines[0].get_ydata()
        mean = np.mean(ydata)
        ax.axhline(mean, color='r', linestyle='--', label=f'Mean: {mean:.2f}')
        ax.legend()
    ax.set_title("Dynamic Mean Line\nhow2matplotlib.com")

fig, ax = plt.subplots()
ax.add_callback(add_mean_line)

# Plot initial data
x = np.linspace(0, 10, 100)
y = np.sin(x) + np.random.normal(0, 0.1, 100)
ax.plot(x, y)

plt.show()
Output:
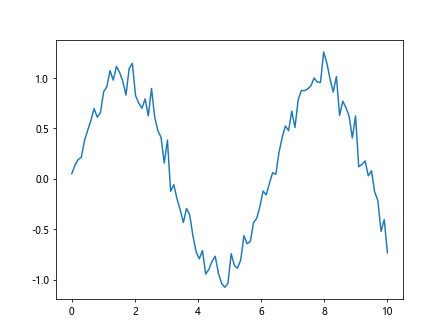
在这个例子中,每当图表发生变化时,回调函数会计算当前数据的平均值,并添加一条表示平均值的水平线。这种动态添加元素的能力使得我们可以创建非常丰富和信息量大的图表。
5. 使用回调函数实现动画效果
虽然Matplotlib有专门的动画模块,但使用add_callback()方法也可以实现一些简单的动画效果。这在某些情况下可能更加灵活和直观。
5.1 简单动画示例
import matplotlib.pyplot as plt
import numpy as np
import time

def update_plot(ax):
    line = ax.get_lines()[0]
    xdata = line.get_xdata()
    ydata = line.get_ydata()
    ydata = np.roll(ydata, 1)
    ydata[0] = np.random.rand()
    line.set_ydata(ydata)
    ax.set_title(f"Animation Frame: {time.time():.2f}\nhow2matplotlib.com")
    ax.figure.canvas.draw()

fig, ax = plt.subplots()
x = np.linspace(0, 2*np.pi, 100)
y = np.sin(x)
line, = ax.plot(x, y)

ax.add_callback(update_plot)

plt.ion()
plt.show()

for _ in range(200):  # Run animation for 200 frames
    update_plot(ax)
    plt.pause(0.05)
Output:
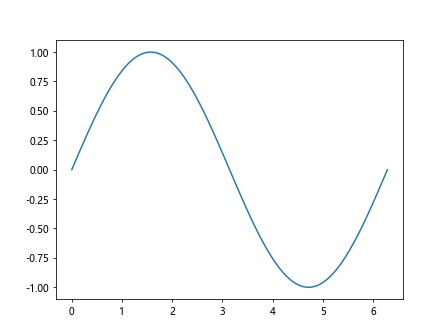
这个例子创建了一个简单的动画,其中一条正弦曲线不断地滚动更新。回调函数update_plot在每一帧都会被调用,更新数据并重绘图表。
6. 回调函数中的错误处理
在使用add_callback()方法时,错误处理是一个重要的考虑因素。如果回调函数中出现未捕获的异常,可能会导致整个程序崩溃。因此,在回调函数中实现适当的错误处理是一个好习惯。
6.1 带错误处理的回调函数示例
import matplotlib.pyplot as plt
import numpy as np

def safe_callback(ax):
    try:
        lines = ax.get_lines()
        if lines:
            ydata = lines[0].get_ydata()
            mean = np.mean(ydata)
            ax.set_title(f"Mean: {mean:.2f}\nhow2matplotlib.com")
        else:
            ax.set_title("No data available\nhow2matplotlib.com")
    except Exception as e:
        print(f"Error in callback: {e}")
        ax.set_title("Error occurred\nhow2matplotlib.com")

fig, ax = plt.subplots()
ax.add_callback(safe_callback)

# Plot some data
x = np.linspace(0, 10, 100)
y = np.sin(x)
ax.plot(x, y)

plt.show()
Output:
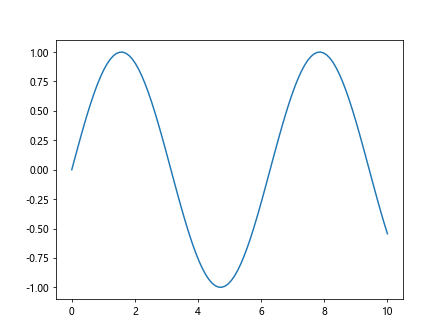
在这个例子中,回调函数safe_callback包含了错误处理逻辑。如果在计算平均值或设置标题时发生任何错误,它会捕获异常并设置一个错误消息作为标题,而不是让程序崩溃。
7. 移除回调函数
有时候,我们可能需要在某个时刻停止回调函数的执行。Matplotlib提供了Axes.remove_callback()方法来实现这一功能。
7.1 移除回调函数示例
import matplotlib.pyplot as plt

def temp_callback(ax):
    print("Temporary callback executed on how2matplotlib.com")

fig, ax = plt.subplots()
ax.plot([1, 2, 3, 4], [1, 4, 2, 3])

# Add the callback and store the callback id
callback_id = ax.add_callback(temp_callback)

# Trigger the callback
ax.set_xlim(0, 5)

# Remove the callback
ax.remove_callback(callback_id)

# This won't trigger the callback anymore
ax.set_ylim(0, 5)

plt.show()
Output:
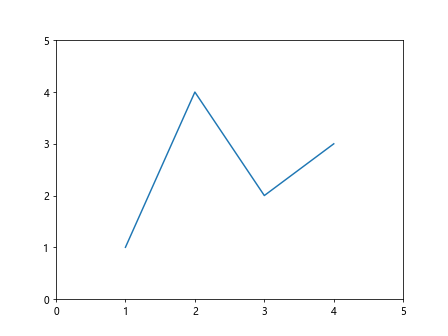
在这个例子中,我们首先添加了一个回调函数,然后通过改变x轴范围触发了它。之后,我们使用remove_callback()方法移除了这个回调函数。因此,当我们改变y轴范围时,回调函数不会再被触发。
8. 在回调函数中访问和修改其他图形元素
回调函数不仅可以修改触发它的Axes对象,还可以访问和修改图表中的其他元素。这使得我们可以创建更复杂和交互性更强的图表。
8.1 修改多个子图的示例
import matplotlib.pyplot as plt
import numpy as np

def update_all_subplots(ax):
    fig = ax.figure
    for subplot in fig.axes:
        subplot.set_title(f"Updated: {np.random.rand():.2f}\nhow2matplotlib.com")
    fig.canvas.draw()

fig, (ax1, ax2) = plt.subplots(1, 2)
ax1.plot([1, 2, 3], [1, 2, 3])
ax2.plot([3, 2, 1], [1, 2, 3])

ax1.add_callback(update_all_subplots)

plt.show()

# Interactively change ax1 to see all subplots update
Output:
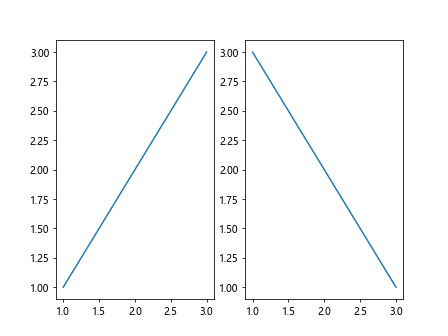
在这个例子中,我们创建了两个子图,但只为其中一个添加了回调函数。然而,这个回调函数会更新所有的子图。这展示了如何在一个回调函数中操作多个图形元素。
9. 使用回调函数实现自定义交互
add_callback()方法还可以用来实现自定义的交互功能。例如,我们可以创建一个回调函数,根据用户的鼠标点击来更新图表。
9.1 鼠标点击交互示例
import matplotlib.pyplot as plt
import numpy as np

def on_click(event):
    if event.inaxes:
        ax = event.inaxes
        x, y = event.xdata, event.ydata
        ax.plot(x, y, 'ro')
        ax.set_title(f"Clicked at ({x:.2f}, {y:.2f})\nhow2matplotlib.com")
        ax.figure.canvas.draw()

fig, ax = plt.subplots()
ax.set_xlim(0, 10)
ax.set_ylim(0, 10)
ax.set_title("Click to add points\nhow2matplotlib.com")

fig.canvas.mpl_connect('button_press_event', on_click)

plt.show()
Output:
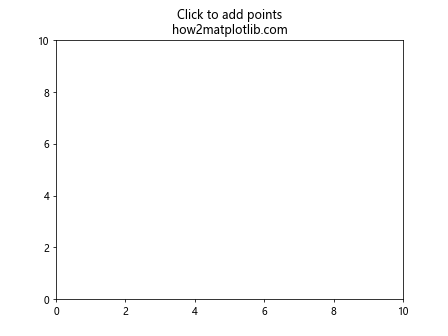
这个例子展示了如何使用事件处理和回调函数的组合来创建交互式图表。每次用户点击图表时,都会在点击位置添加一个红点,并更新标题以显示点击的坐标。
10. 在回调函数中使用外部数据
回调函数还可以用来更新基于外部数据源的图表。这在创建实时数据可视化时特别有用。
10.1 实时数据更新示例
import matplotlib.pyplot as plt
import numpy as np
import time

class DataSource:
    def __init__(self):
        self.data = []

    def get_data(self):
        self.data.append(np.random.rand())
        return self.data

data_source = DataSource()

def update_plot(ax):
    data = data_source.get_data()
    ax.clear()
    ax.plot(data)
    ax.set_title(f"Data points: {len(data)}\nhow2matplotlib.com")
    ax.figure.canvas.draw()

fig, ax = plt.subplots()
ax.add_callback(update_plot)

plt.ion()
plt.show()

for _ in range(50):  # Simulate real-time data for 50 iterations
    update_plot(ax)
    plt.pause(0.1)
Output:
在这个例子中,我们创建了一个简单的DataSource类来模拟实时数据源。回调函数update_plot在每次被调用时都会从数据源获取新数据,并更新图表。这种方法可以很容易地扩展到更复杂的实时数据可视化场景。
11. 使用回调函数实现自适应坐标轴
回调函数可以用来创建自适应的坐标轴,这在处理动态变化的数据时特别有用。
11.1 自适应坐标轴示例
import matplotlib.pyplot as plt
import numpy as np

def adaptive_limits(ax):
    lines = ax.get_lines()
    if lines:
        xdata = np.concatenate([l.get_xdata() for l in lines])
        ydata = np.concatenate([l.get_ydata() for l in lines])
        ax.set_xlim(np.min(xdata), np.max(xdata))
        ax.set_ylim(np.min(ydata), np.max(ydata))
    ax.set_title("Adaptive Axes\nhow2matplotlib.com")

fig, ax = plt.subplots()
ax.add_callback(adaptive_limits)

# Initial plot
x = np.linspace(0, 10, 100)
y = np.sin(x)
ax.plot(x, y)

# Add new data
x_new = np.linspace(10, 15, 50)
y_new = np.cos(x_new) * 2
ax.plot(x_new, y_new)

plt.show()
Output:
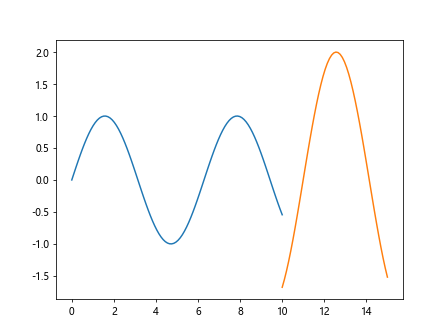
在这个例子中,回调函数adaptive_limits会自动调整坐标轴的范围以适应所有数据点。每当添加新的数据或现有数据发生变化时,坐标轴都会自动调整。
12. 在回调函数中使用动画效果
虽然Matplotlib有专门的动画模块,但我们也可以在回调函数中实现一些简单的动画效果。
12.1 简单动画效果示例
import matplotlib.pyplot as plt
import numpy as np
import time

def animate(ax):
    line = ax.get_lines()[0]
    xdata = line.get_xdata()
    ydata = line.get_ydata()
    ydata = np.roll(ydata, -1)
    ydata[-1] = np.random.rand()
    line.set_ydata(ydata)
    ax.set_title(f"Frame: {time.time():.2f}\nhow2matplotlib.com")
    ax.figure.canvas.draw()

fig, ax = plt.subplots()
x = np.linspace(0, 2*np.pi, 100)
y = np.sin(x)
line, = ax.plot(x, y)

ax.add_callback(animate)

plt.ion()
plt.show()

for _ in range(200):  # Run animation for 200 frames
    animate(ax)
    plt.pause(0.05)
Output:
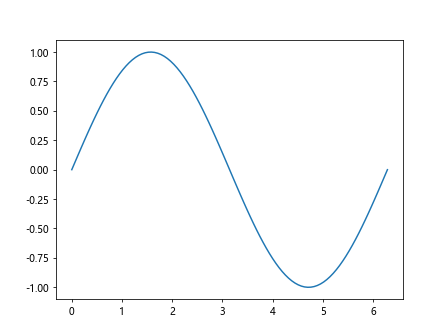
这个例子创建了一个简单的动画,其中一条正弦曲线不断地滚动更新。回调函数animate在每一帧都会被调用,更新数据并重绘图表。
13. 使用回调函数实现复杂的图表更新
回调函数可以用来实现复杂的图表更新逻辑,例如根据某些条件添加或删除图表元素。
13.1 条件更新示例
import matplotlib.pyplot as plt
import numpy as np

def conditional_update(ax):
    lines = ax.get_lines()
    if lines:
        ydata = lines[0].get_ydata()
        mean = np.mean(ydata)
        if mean > 0.5:
            if len(ax.texts) == 0:
                ax.text(0.5, 0.9, "High Value!", transform=ax.transAxes, ha='center')
        else:
            if len(ax.texts) > 0:
                ax.texts[0].remove()
    ax.set_title(f"Mean: {mean:.2f}\nhow2matplotlib.com")

fig, ax = plt.subplots()
ax.add_callback(conditional_update)

x = np.linspace(0, 2*np.pi, 100)
line, = ax.plot(x, np.sin(x))

plt.ion()
plt.show()

for _ in range(50):
    new_y = np.sin(x) + np.random.normal(0, 0.5, 100)
    line.set_ydata(new_y)
    conditional_update(ax)
    plt.pause(0.1)
Output:
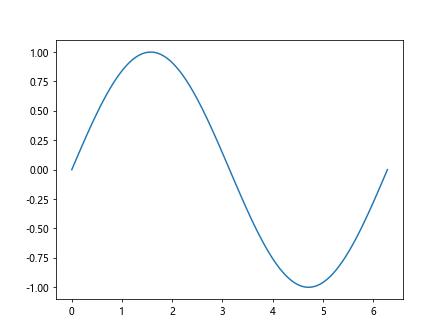
在这个例子中,回调函数conditional_update会根据数据的平均值来决定是否在图表上添加文本注释。这展示了如何使用回调函数来实现复杂的条件逻辑。
14. 在回调函数中处理多个图形对象
回调函数不仅可以处理单个Axes对象,还可以同时处理多个图形对象,实现更复杂的图表更新逻辑。
14.1 多图形对象处理示例
import matplotlib.pyplot as plt
import numpy as np

def update_all(ax):
    fig = ax.figure
    for i, subplot in enumerate(fig.axes):
        data = np.random.rand(10)
        subplot.clear()
        subplot.bar(range(10), data)
        subplot.set_title(f"Subplot {i+1}\nhow2matplotlib.com")
    fig.suptitle(f"Updated at: {plt.datetime.datetime.now()}")
    fig.canvas.draw()

fig, (ax1, ax2) = plt.subplots(1, 2, figsize=(10, 5))
ax1.add_callback(update_all)

plt.ion()
plt.show()

for _ in range(10):
    update_all(ax1)
    plt.pause(1)
这个例子创建了两个子图,并使用一个回调函数同时更新两个子图的内容。这展示了如何在一个回调函数中处理多个图形对象。
15. 使用回调函数实现自定义图例
回调函数还可以用来创建和更新自定义图例,这在处理动态变化的数据时特别有用。
15.1 动态图例示例
import matplotlib.pyplot as plt
import numpy as np

def update_legend(ax):
    lines = ax.get_lines()
    if lines:
        for i, line in enumerate(lines):
            ydata = line.get_ydata()
            mean = np.mean(ydata)
            line.set_label(f"Line {i+1}: Mean = {mean:.2f}")
    ax.legend()
    ax.set_title("Dynamic Legend\nhow2matplotlib.com")

fig, ax = plt.subplots()
ax.add_callback(update_legend)

for i in range(3):
    x = np.linspace(0, 10, 100)
    y = np.sin(x + i) + np.random.normal(0, 0.1, 100)
    ax.plot(x, y)

plt.show()
Output:
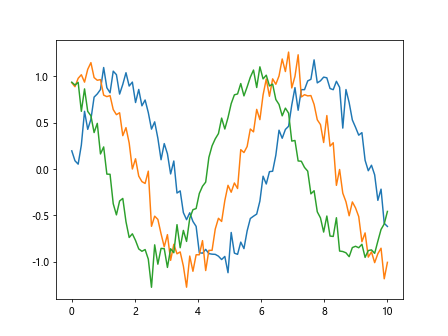
在这个例子中,回调函数update_legend会动态更新每条线的图例,显示每条线数据的平均值。这种方法可以用来创建信息丰富的动态图例。
结论
Matplotlib.axes.Axes.add_callback()方法是一个强大而灵活的工具,可以用来创建动态和交互式的图表。通过本文的详细介绍和多个示例,我们展示了如何使用这个方法来实现各种复杂的图表更新逻辑,包括动态标题更新、自适应坐标轴、实时数据可视化、条件更新、多图形对象处理等。
这个方法的强大之处在于它可以让我们在图表的任何属性发生变化时执行自定义的操作。这为创建高度定制化和响应式的数据可视化提供了无限可能。无论是简单的图表更新还是复杂的交互式可视化,add_callback()方法都能够满足各种需求。
然而,使用这个方法时也需要注意一些事项。首先,回调函数应该尽可能高效,因为它们可能会被频繁调用。其次,适当的错误处理很重要,以防止回调函数中的错误导致整个程序崩溃。最后,在不需要回调函数时,记得使用remove_callback()方法移除它,以避免不必要的计算开销。
总的来说,Matplotlib.axes.Axes.add_callback()方法是Matplotlib库中一个非常有用的功能,掌握它可以让我们创建出更加动态、交互和信息丰富的数据可视化。
 极客笔记
极客笔记