如何使用Swift创建带属性的字符串?
本文将解释如何在Swift语言中创建带属性的字符串。在Swift中,要对字符串应用不同的属性,需要进行哪些步骤?
在Swift中,我们使用NSAttributedString类来创建带属性的字符串。
在Swift中,NSAttributedString是一个用于创建和管理带属性的字符串的类。带属性的字符串是一个在字符串的部分文本上应用了额外属性(如文字颜色、字体和样式)的字符串。
本文将展示带属性的字符串的不同用例。
基本设置
import UIKit
class TestController: UIViewController {
    private let attributedLabel = UILabel()

    override func viewDidLoad() {
        super.viewDidLoad()
        initialSetup()
    }
    private func initialSetup() {

        // basic setup
        view.backgroundColor = .white
        navigationItem.title = "NSAttributedString"


        // attributedLabel customization
        attributedLabel.numberOfLines = 0
        attributedLabel.backgroundColor = UIColor(white: 0, alpha: 0.1)

        view.addSubview(attributedLabel)
        attributedLabel.translatesAutoresizingMaskIntoConstraints = false
        attributedLabel.leadingAnchor.constraint(equalTo: view.leadingAnchor, constant: 30).isActive = true
        attributedLabel.trailingAnchor.constraint(equalTo: view.trailingAnchor, constant: -30).isActive = true
        attributedLabel.topAnchor.constraint(equalTo: view.safeAreaLayoutGuide.topAnchor, constant: 30).isActive = true
        attributedLabel.heightAnchor.constraint(equalToConstant: 300).isActive = true
    }
}
解释
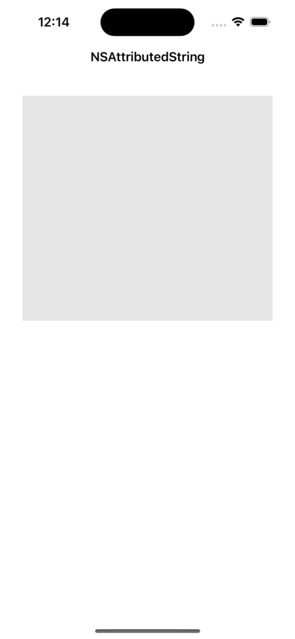
在上面的代码中,我们设置了一个名为TestController的视图控制器,用于为UILabel类显示不同的属性文本。
输出

如何给整个字符串应用颜色?
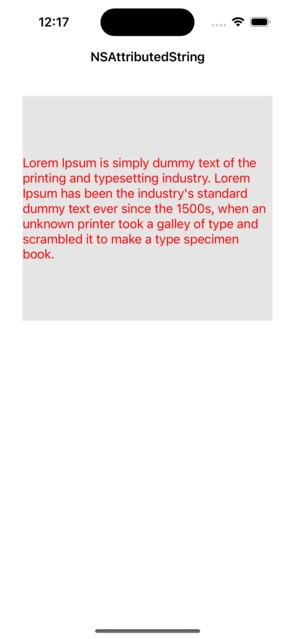
在这个例子中,您将看到如何给整个字符串应用颜色。以下是使用不同属性在Swift中创建NSAttributedString对象的示例 –
private func example1() {
   let string = "Lorem Ipsum is simply dummy text of the printing and typesetting industry. Lorem Ipsum has been the industry's standard dummy text ever since the 1500s, when an unknown printer took a galley of type and scrambled it to make a type specimen book."
   let attributes: [NSAttributedString.Key: Any] = [.foregroundColor: UIColor.red,
   let attributedString = NSAttributedString(string: string, attributes: attributes)
   attributedLabel.attributedText = attributedString
}
输出

如何对整个字符串应用不同的颜色和字体样式?
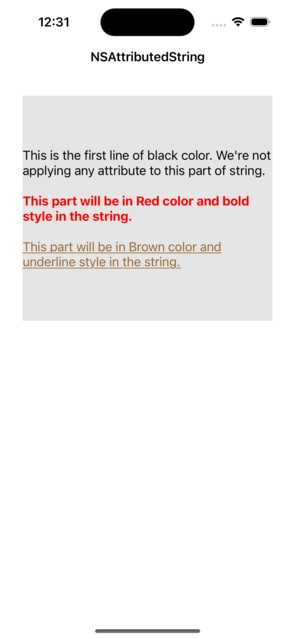
在这个示例中,您将看到如何对字符串应用不同的颜色和字体样式的示例。以下是在Swift中创建带有不同属性的NSAttributedString对象的示例-
private func example2() {
   // first part
   let attributedString = NSMutableAttributedString(string: "This is the first line of black color. We're not applying any attribute to this part of string.",
      attributes: [.foregroundColor: UIColor.black, font: UIFont.systemFont(ofSize: 17)])

   // appending new lines
   attributedString.append(NSAttributedString(string: "\n\n"))

   // second part
   attributedString.append(NSAttributedString(string: "This part will be in Red color and bold style in the string.", attributes: [.foregroundColor: UIColor.red, .font: UIFont.systemFont(ofSize: 17, weight: .bold)]))

   // appending new lines
   attributedString.append(NSAttributedString(string: "\n\n"))

   // third part
   attributedString.append(NSAttributedString(string: "This part will be in Brown color and underline style in the string.", attributes: [.foregroundColor: UIColor.brown, .font: UIFont.systemFont(ofSize: 17), .underlineStyle: 1]))

   attributedLabel.attributedText = attributedString
}
输出

如何对整个字符串应用行间距?
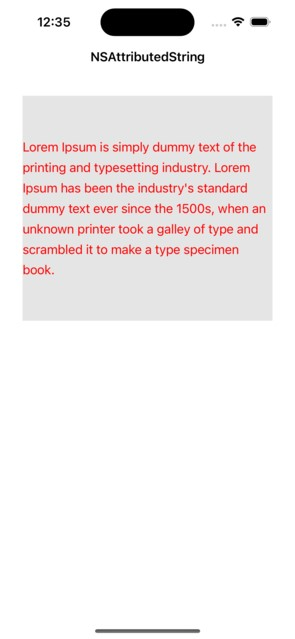
在许多情况下,您必须对字符串应用一些行间距以正确显示多行文本。Swift提供了NSMutableParagraphStyle类来添加行之间的间距。以下是如何在Swift中将段落样式应用于字符串的示例−
private func example3() {
   let string = "Lorem Ipsum is simply dummy text of the printing and typesetting industry. Lorem Ipsum has been the industry's standard dummy text ever since the 1500s, when an unknown printer took a galley of type and scrambled it to make a type specimen book."
   let paragraph = NSMutableParagraphStyle()
   paragraph.lineSpacing = 7
   let attributes: [NSAttributedString.Key: Any] = [.foregroundColor: UIColor.red,
      .font: UIFont.systemFont(ofSize: 17),
      .paragraphStyle: paragraph]
   let attributedString = NSAttributedString(string: string, attributes: attributes)
   attributedLabel.attributedText = attributedString
}
输出

结论
在真实的iOS应用中,属性字符串是一个非常有用和常用的功能。你可以对字符串应用不同的样式。同时,你还可以对子字符串应用不同的样式。
 极客笔记
极客笔记