如何使按钮居中CSS
在网页设计和开发中,使按钮居中是一个常见的需求。居中的按钮能够提高用户体验和界面美观性,但在实践中有时可能会带来一些挑战。CSS提供了多种方法来实现按钮居中,包括使用Flexbox、Grid布局或传统的水平居中技术。每种方法都有其适用的场景和优缺点,了解它们可以帮助开发者在不同情况下做出最佳选择。在本文中,我们将探讨这些方法,并提供实用的代码示例,帮助您轻松地在项目中实现按钮的居中效果。
在CSS中使按钮居中有多种方法,取决于您希望的效果和布局。以下是一些常用的技术手段:
使用Flexbox布局
Flexbox是一种强大的布局模型,特别适合于居中元素。通过设置父容器的display属性为flex,您可以轻松地在其中居中按钮。
<!DOCTYPE html>
<html lang="en">
<head>
<meta charset="UTF-8">
<meta name="viewport" content="width=device-width, initial-scale=1.0">
<title>Centered Button with Flexbox</title>
<style>
  .container {
    display: flex;
    justify-content: center; /* 水平居中 */
    align-items: center; /* 垂直居中 */
    height: 100vh; /* 设置高度,以使按钮在屏幕中央 */
  }
</style>
</head>
<body>
<div class="container">
  <button>居中按钮</button>
</div>
</body>
</html>
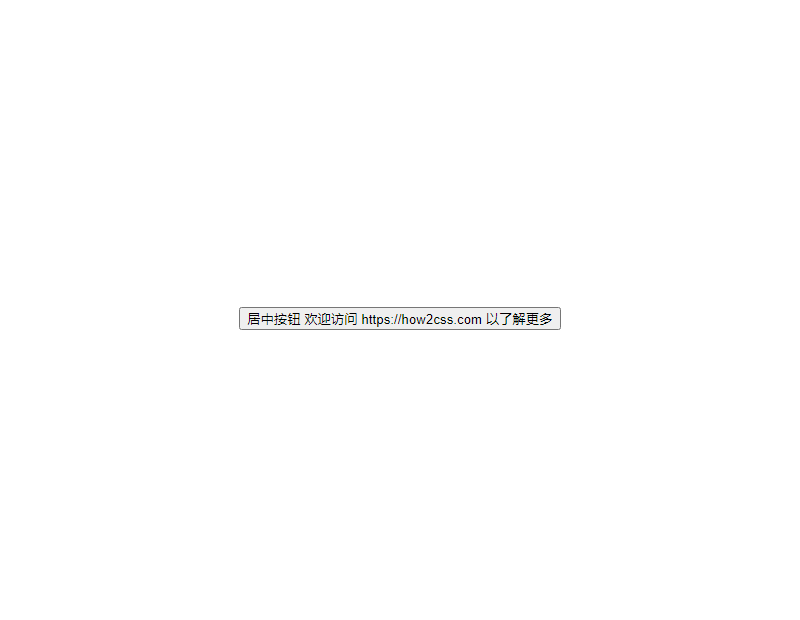
执行这段代码的效果图为:

使用Grid布局
Grid布局也是一种强大的布局模型,可以轻松地实现居中效果。通过设置父容器为网格容器,并将按钮放置在中间单元格中,您可以实现居中按钮。
<!DOCTYPE html>
<html lang="en">
<head>
<meta charset="UTF-8">
<meta name="viewport" content="width=device-width, initial-scale=1.0">
<title>Centered Button with CSS Grid</title>
<style>
  .container {
    display: grid;
    place-items: center; /* 将子元素水平垂直居中 */
    height: 100vh; /* 设置高度,以使按钮在屏幕中央 */
  }
</style>
</head>
<body>
<div class="container">
  <button>居中按钮</button>
</div>
</body>
</html>
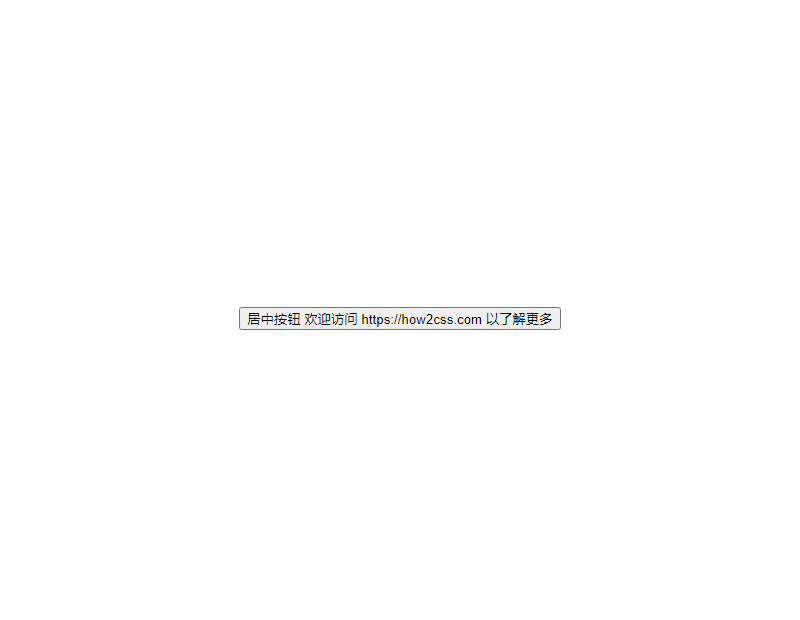
执行这段代码的效果图为:

使用Position和Transform
另一种方法是使用绝对定位和CSS的transform属性。这种方法适用于那些不适合使用Flexbox或Grid的情况。
<!DOCTYPE html>
<html lang="en">
<head>
<meta charset="UTF-8">
<meta name="viewport" content="width=device-width, initial-scale=1.0">
<title>Centered Button with Position and Transform</title>
<style>
  .container {
    position: relative; /* 父容器相对定位 */
    height: 100vh; /* 设置高度,以使按钮在屏幕中央 */
  }
  .centered {
    position: absolute; /* 子元素绝对定位 */
    top: 50%; /* 顶部位于父容器的50%位置 */
    left: 50%; /* 左侧位于父容器的50%位置 */
    transform: translate(-50%, -50%); /* 使用transform属性将按钮居中 */
  }
</style>
</head>
<body>
<div class="container">
  <button class="centered">居中按钮</button>
</div>
</body>
</html>
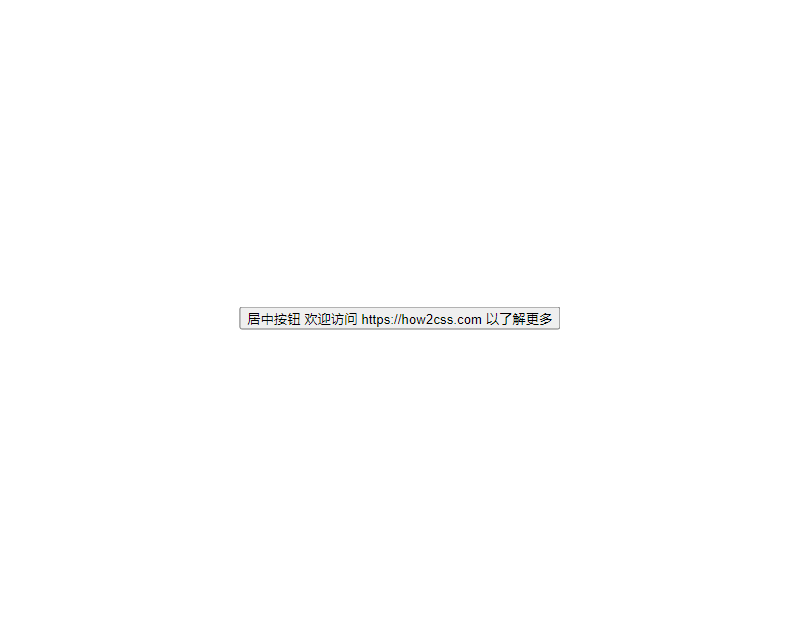
执行这段代码的效果图为:

通过这些方法,您可以轻松地使按钮在CSS中水平和垂直居中,以适应各种布局和设计需求。
常见问题及解决方案
问题:如何使用CSS将按钮居中?
按钮居中是网页设计中常见的需求,但在不同情况下可能会有不同的解决方案。以下是一些常见的方法:
解决方案:
1. 使用text-align: center;
<!DOCTYPE html>
<html lang="en">
<head>
<meta charset="UTF-8">
<meta name="viewport" content="width=device-width, initial-scale=1.0">
<title>Button Centering</title>
<style>
  .container {
    text-align: center;
  }
  .btn {
    padding: 10px 20px;
    background-color: #007bff;
    color: #fff;
    border: none;
    border-radius: 5px;
    cursor: pointer;
  }
</style>
</head>
<body>

<div class="container">
  <button class="btn">Centered Button</button>
</div>

</body>
</html>
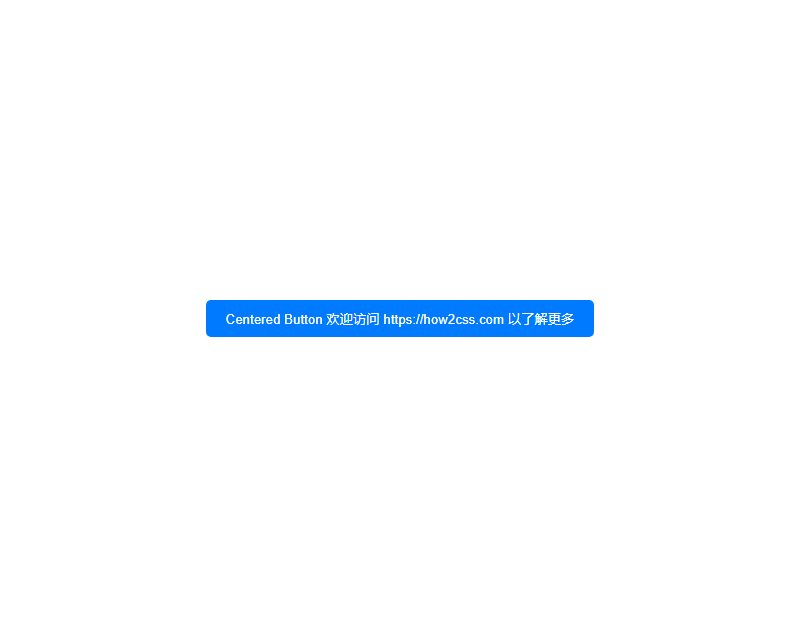
执行这段代码的效果图为:

2. 使用margin: 0 auto;
<!DOCTYPE html>
<html lang="en">
<head>
<meta charset="UTF-8">
<meta name="viewport" content="width=device-width, initial-scale=1.0">
<title>Button Centering</title>
<style>
  .container {
    width: 100%;
    text-align: center;
  }
  .btn {
    padding: 10px 20px;
    background-color: #007bff;
    color: #fff;
    border: none;
    border-radius: 5px;
    cursor: pointer;
    margin: 0 auto;
  }
</style>
</head>
<body>

<div class="container">
  <button class="btn">Centered Button</button>
</div>

</body>
</html>
执行这段代码的效果图为:

3. 使用Flexbox
<!DOCTYPE html>
<html lang="en">
<head>
<meta charset="UTF-8">
<meta name="viewport" content="width=device-width, initial-scale=1.0">
<title>Button Centering</title>
<style>
  .container {
    display: flex;
    justify-content: center;
    align-items: center;
    height: 100vh;
  }
  .btn {
    padding: 10px 20px;
    background-color: #007bff;
    color: #fff;
    border: none;
    border-radius: 5px;
    cursor: pointer;
  }
</style>
</head>
<body>

<div class="container">
  <button class="btn">Centered Button</button>
</div>

</body>
</html>
执行这段代码的效果图为:

这些解决方案都是在实际项目中经常使用的,可以根据具体情况选择最适合的方法。在响应式设计中,Flexbox 是一个很好的选择,因为它可以轻松地适应不同的屏幕尺寸和设备。
当涉及到在网页上居中按钮时,CSS提供了多种方法。但是,最佳实践通常涉及使用Flexbox或Grid布局。让我们深入探讨一下这两种方法。
使用Flexbox布局
Flexbox布局是一种灵活的布局方式,特别适合于居中元素。以下是一个简单的示例,演示如何使用Flexbox将按钮水平和垂直居中。
<!DOCTYPE html>
<html lang="en">
<head>
<meta charset="UTF-8">
<meta name="viewport" content="width=device-width, initial-scale=1.0">
<title>Flexbox居中按钮</title>
<style>
  body, html {
    height: 100%;
    margin: 0;
    display: flex;
    justify-content: center; /* 水平居中 */
    align-items: center; /* 垂直居中 */
  }

  .container {
    text-align: center;
  }

  button {
    padding: 10px 20px;
    background-color: #007bff;
    color: #fff;
    border: none;
    border-radius: 5px;
    font-size: 16px;
    cursor: pointer;
  }
</style>
</head>
<body>
<div class="container">
  <button>居中按钮</button>
</div>
</body>
</html>
执行这段代码的效果图为:

在这个示例中,我们将<body>和<html>元素设置为100%高度,并使用Flexbox将内容水平和垂直居中。按钮位于一个包含元素内,以确保在不同尺寸的屏幕上都能正确居中。
使用Grid布局
另一种常用的居中按钮的方法是使用CSS Grid布局。下面是一个演示如何使用Grid将按钮水平和垂直居中的示例。
<!DOCTYPE html>
<html lang="en">
<head>
<meta charset="UTF-8">
<meta name="viewport" content="width=device-width, initial-scale=1.0">
<title>Grid居中按钮</title>
<style>
  body, html {
    height: 100%;
    margin: 0;
    display: grid;
    place-items: center; /* 水平和垂直居中 */
  }

  button {
    padding: 10px 20px;
    background-color: #007bff;
    color: #fff;
    border: none;
    border-radius: 5px;
    font-size: 16px;
    cursor: pointer;
  }
</style>
</head>
<body>
<button>居中按钮</button>
</body>
</html>
执行这段代码的效果图为:

在这个示例中,我们使用了display: grid和place-items: center来将按钮水平和垂直居中。与Flexbox相比,Grid布局更适合于更复杂的布局需求,但在这种简单情况下也同样适用。
无论您选择使用Flexbox还是Grid布局,这两种方法都是使按钮居中的强大工具,可以满足各种网页布局需求。
结论
按钮居中在网页设计中至关重要。通过CSS,我们可以轻松实现按钮的居中效果,无论是在响应式设计还是固定布局中。本文讨论了使用flexbox和Grid布局等现代CSS技术来实现按钮居中的方法,并提供了详细的代码示例。通过这些技术,开发者可以更加灵活地控制按钮的位置和布局,从而提升用户体验并确保页面的视觉吸引力。
 极客笔记
极客笔记